How Long to Preheat a Grill: The Science of Why It Matters
How Long to Preheat a Grill: The Science of Why It Matters
You light the grill, toss the steaks on, and wonder why nothing sizzles. The answer is almost always the same: you did not preheat long enough.
Preheating is not just a suggestion. It is the difference between a steak that develops a dark, crackling crust and one that steams in its own moisture. It is the difference between food that releases cleanly from the grates and food that tears apart when you try to flip it. And it is the difference between killing surface bacteria on contact and giving pathogens extra minutes in the danger zone.
Here is exactly how long you need — and the science behind why.
Why Preheating Actually Matters
Thermal Energy Storage
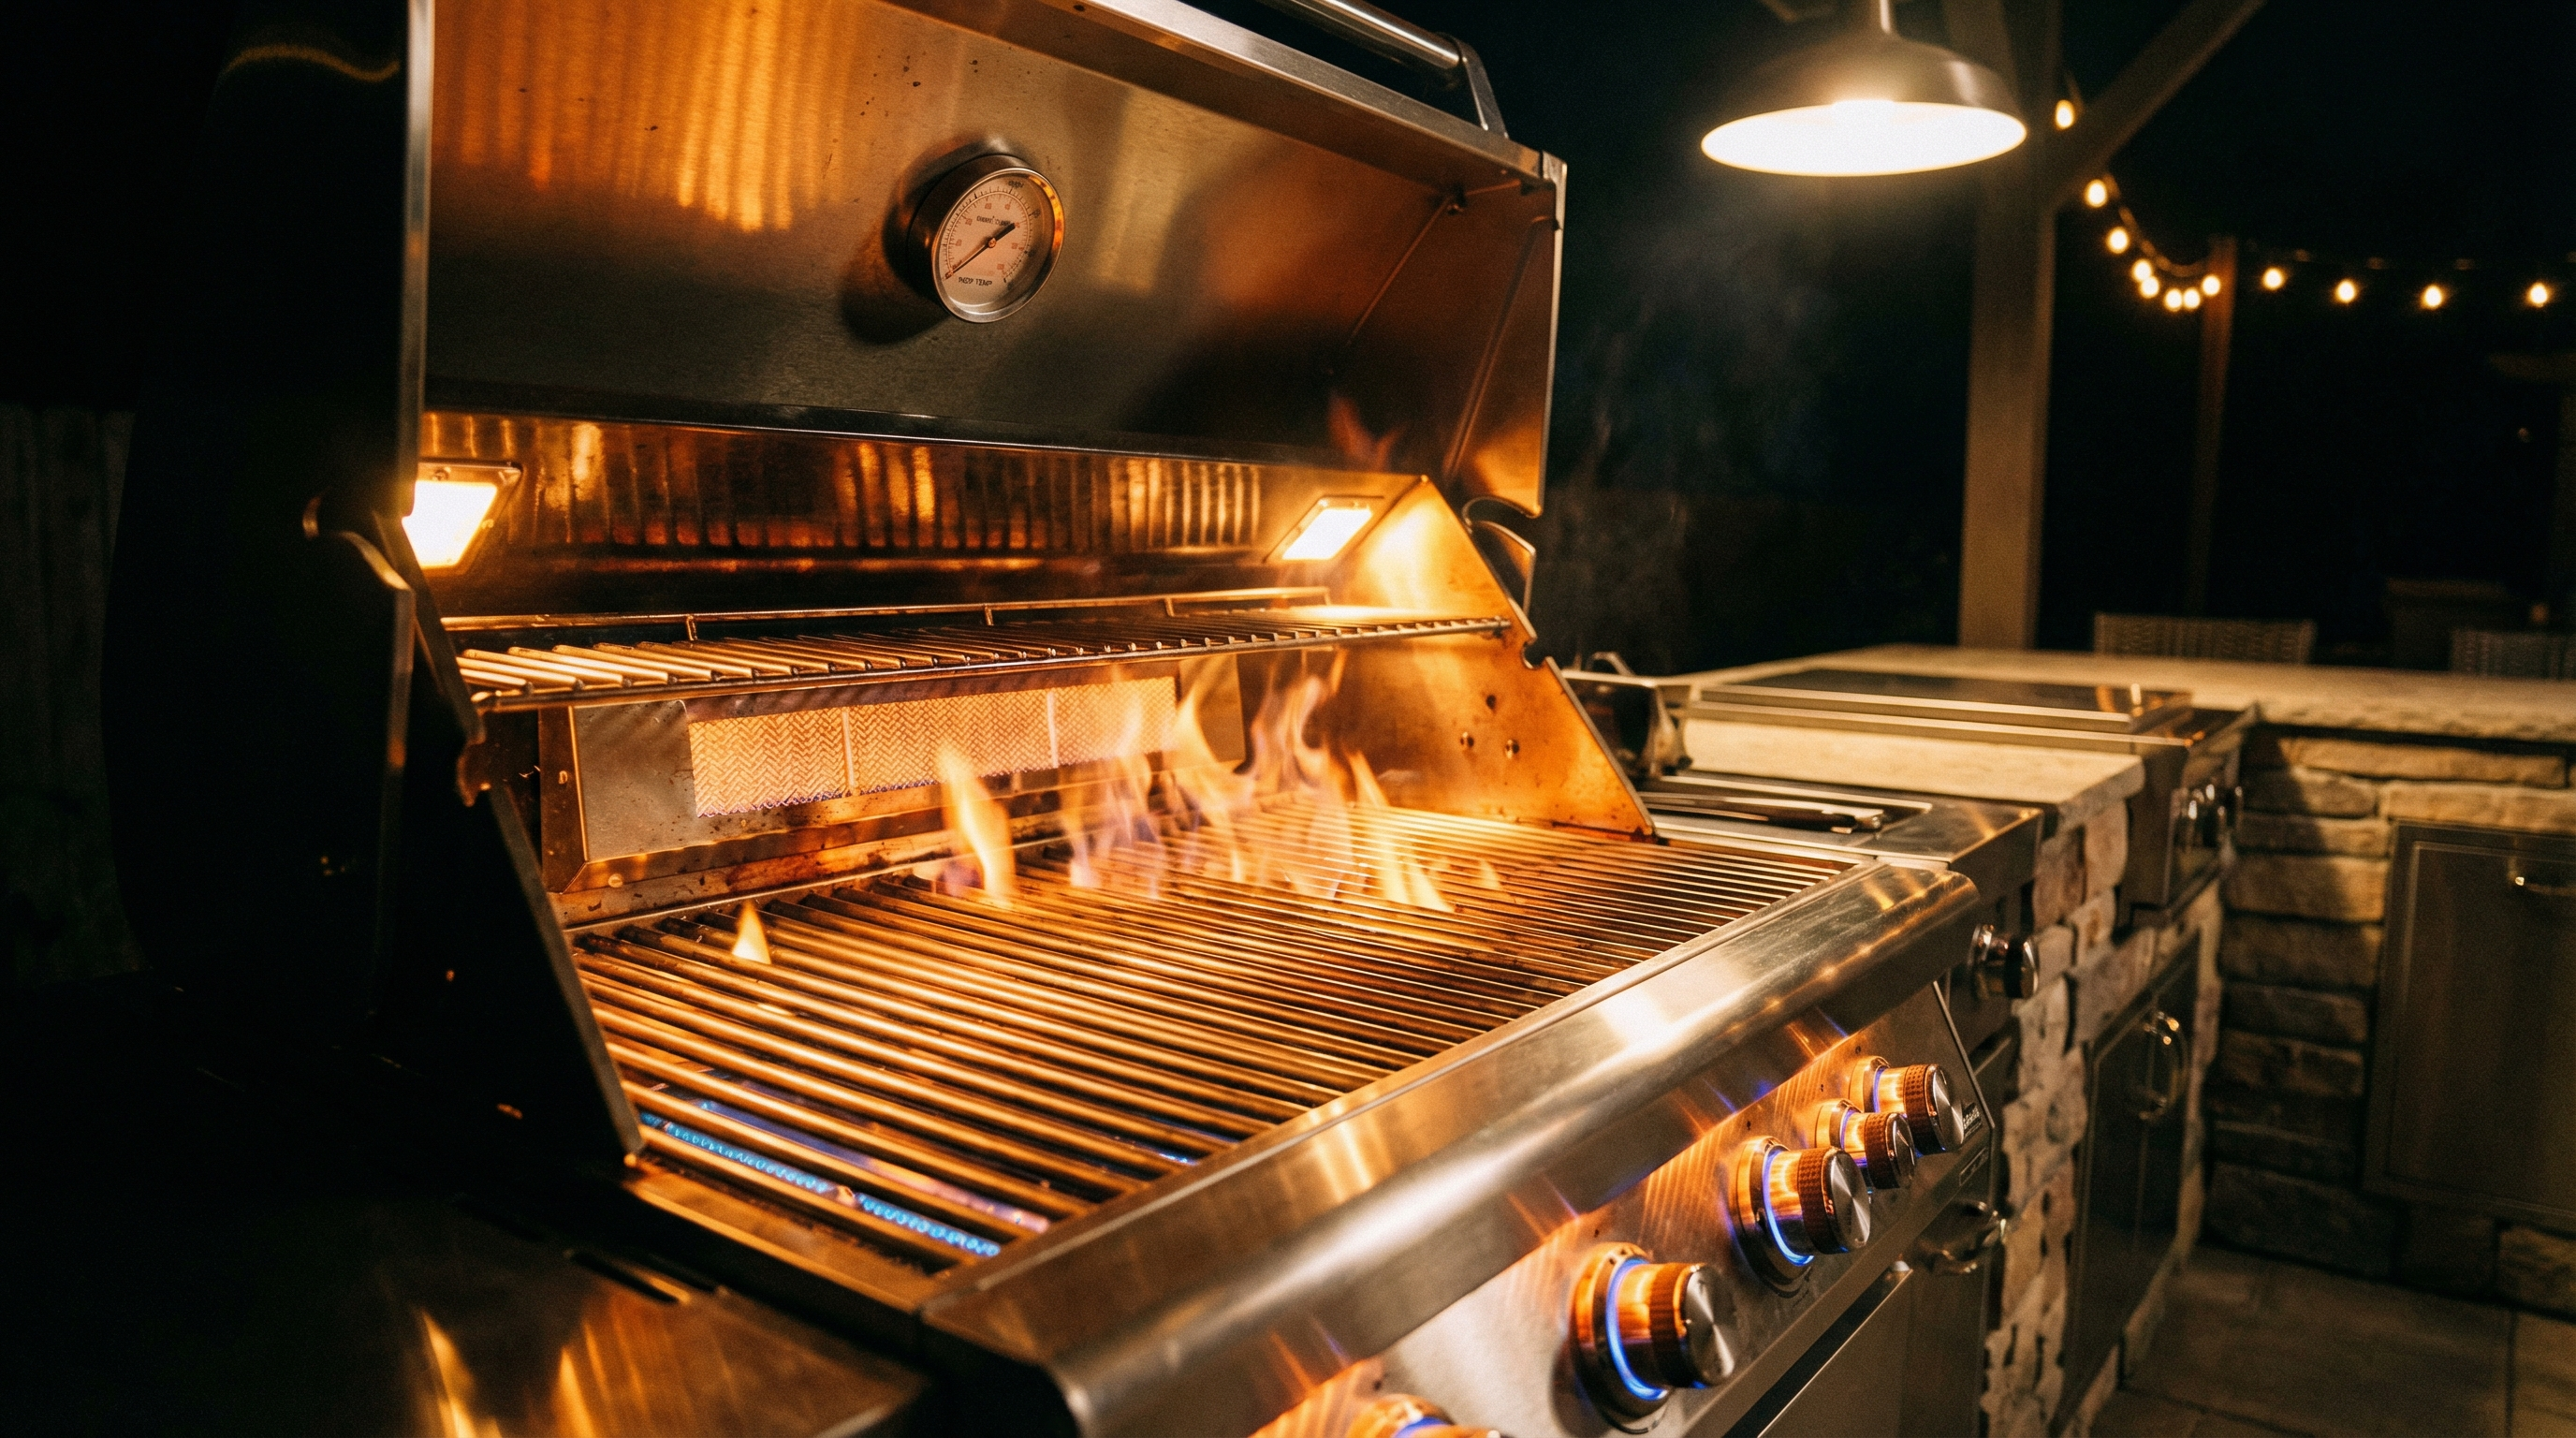
Your grill grates, heat deflectors, and the grill body itself are thermal batteries. When you preheat, you are not just heating the air inside — you are loading energy into the metal mass of the entire system.
A cold cast iron grate weighing 15 pounds might be at 70°F ambient. To bring it to 500°F, it needs to absorb a significant amount of thermal energy. If you put a cold steak on a 200°F grate that is still climbing, two things happen:
- The grate temperature drops dramatically at the contact point
- The meat does not sear — it steams
That steam is moisture escaping from the surface before the Maillard reaction can even begin. The Maillard reaction needs surface temperatures above 280°F to kick off. Below that, you are just slowly cooking the outside without building any crust.
The Non-Stick Effect
A properly preheated grate is naturally non-stick. Here is why: when metal heats up, it expands slightly. The microscopic pores and irregularities in the grate surface open up. Proteins from the meat initially bond to the hot metal, but once a proper crust forms thanks to the Maillard reaction, it contracts and releases. This takes about 60 to 90 seconds of uninterrupted contact on a properly preheated grate.
On a cold or lukewarm grate, the protein bonds to the metal but never builds enough crust to release. Result: torn meat, lost bark, frustration.
Food Safety
The FDA recommends cooking ground beef to 160°F internal, poultry to 165°F. But surface bacteria die almost instantly on contact with metal above 400°F. A preheated grill kills surface pathogens on contact, while a lukewarm grate lets bacteria linger during the slow climb.
Preheat Times by Grill Type
Gas Grills: 10 to 15 Minutes, All Burners on High
Gas grills heat up fastest because the flame directly contacts the heat plates or flavorizer bars, which then radiate heat to the grates.
The 10-minute rule: Turn all burners to high, close the lid, and wait 10 minutes. For most gas grills, this brings grate temperature to 450 to 550°F.
Why all burners? Even if you are cooking on only half the grill, preheat all burners. This heats the entire body, creating a more stable thermal environment. You can turn off burners for indirect zones after preheating.
How to verify: Hold your hand 6 inches above the grate. If you cannot keep it there for more than 2 seconds, you are ready. Or use an infrared thermometer — aim for 500°F or higher on the grate surface for searing.
Charcoal Grills: 15 to 25 Minutes After Coals Are Lit
Charcoal grills take longer because you are waiting for two things: the coals to fully ignite and the grill body to absorb heat.
Chimney starter method:
- Light the chimney (0:00)
- Coals are fully ashed over — dump them (15 to 20 minutes)
- Spread coals, place grate, close lid (20 minutes)
- Grate is preheated and ready (25 to 30 minutes from light)
The common mistake: Dumping coals and immediately grilling. The coals might be hot, but the grate is still cold. Give the grate at least 5 minutes with the lid closed after adding coals.
For kamado and ceramic grills: Add 5 to 10 extra minutes. Ceramic walls have enormous thermal mass — they absorb heat slowly but hold it for hours. A Big Green Egg at 600°F is a heat fortress, but getting there takes patience.
Pellet Grills: 10 to 15 Minutes at Target Temperature
Pellet grills have a fan-forced fire, so they heat relatively quickly. Most have a built-in preheat cycle.
Standard approach: Set to your target temperature. Wait for the grill to signal it has reached temp, then add 5 more minutes. The controller might say 450°F, but the grates have not caught up yet.
For searing: If your pellet grill has a direct-flame sear station, give it the full 15 minutes. These accessories are often thin metal that needs time to reach proper searing temperature.
The Grate Material Factor
Not all grates are equal, and the material changes your preheat time.
Cast Iron Grates
Thermal mass: High. Cast iron is dense and heavy, storing enormous amounts of energy.
Preheat time: Longest — needs the full recommended time.
Payoff: Once hot, cast iron delivers the most aggressive sear. The stored energy does not drop as much when cold food hits it.
Stainless Steel Grates
Thermal mass: Medium. Lighter than cast iron, heats faster but holds less energy.
Preheat time: About 2 to 3 minutes less than cast iron.
Tradeoff: Sear marks are lighter because there is less energy stored in the thinner metal.
Porcelain-Coated Grates
Thermal mass: Low to medium. The coating adds some insulation.
Preheat time: Similar to stainless, but the coating can create hot spots.
Note: Do not overheat — porcelain can crack at extreme temperatures, so max preheat of 12 to 15 minutes is usually sufficient.
Chrome and Nickel Plated Wire Grates
Thermal mass: Very low. These thin wire grates are found on budget grills.
Preheat time: Shortest, but they also lose heat fastest on contact.
Reality check: These will never deliver restaurant-quality sear marks. Consider upgrading to cast iron grate inserts.
Common Preheating Mistakes
Opening the Lid to Check
Every time you open the lid during preheat, you dump hot air and restart the convection heating process. The grates lose less heat since they conduct from below, but the overall grill temperature resets. Keep the lid closed.
Preheating on Low Then Turning Up
Some people light the grill on low to warm it up gently, then crank to high. This wastes time. High heat from the start is fine — grill grates are not fragile. Go straight to high for the preheat phase, then adjust to cooking temperature after.
Trusting the Lid Thermometer
The thermometer in your grill lid measures air temperature at the top of the dome — the hottest point. Grate temperature is typically 50 to 100°F lower than what the lid thermometer reads. An infrared thermometer pointed at the grate gives you the real number.
Not Preheating for Indirect Cooking
Even if you are planning a long, low-and-slow cook, preheat the grill to your target temperature with the lid closed before adding food. Putting a cold brisket into a grill that is still climbing to 250°F extends your cook time unpredictably and makes the first hour of temperature data meaningless.
The Quick Preheat Protocol
If you are in a hurry, here is the minimum effective preheat:
- Gas: All burners on high, lid closed, 7 minutes. Not ideal, but workable for thin cuts.
- Charcoal: Use a full chimney, dump, grate on, lid closed, 3 minutes. Acceptable for burgers and dogs.
- Pellet: Set to max, wait for temp indicator plus 2 minutes.
For thick steaks, roasts, or anything you want a serious crust on — do not rush it. The full preheat is non-negotiable.
The Bottom Line
Preheating your grill is loading the thermal battery that makes everything else work — the sear, the release, the food safety, the consistency. Ten to fifteen minutes with the lid closed is all it takes for gas. Twenty to twenty-five minutes from chimney light for charcoal. Do not skip it, do not rush it, and do not open the lid to peek.
The best grillers are not the ones with the most expensive equipment. They are the ones who are patient enough to let the grill do its job before they start doing theirs.
More Expert Guides
Brisket Flat vs Point: Anatomy, Flavor Differences, and How to Cook Each Cut
A whole packer brisket contains two distinct muscles with radically different properties. Understanding the flat and the point — their fiber direction, fat distribution, and collagen content — is the difference between great barbecue and dried-out disappointment.
15 min readSteak Doneness Temperature Guide: The Science of Every Level from Rare to Well Done
Every degree matters. This science-backed guide covers the exact internal temperatures for every steak doneness level, why each temperature produces a different texture, and how to nail your target every time.
14 min readDirect vs Indirect Heat Grilling: The Science of Two-Zone Cooking
Direct heat sears. Indirect heat roasts. Understanding the physics of each — and when to combine them — is the foundation of every great grilling technique.