Meat Thermometer Accuracy: The Science of Getting the Right Temperature Every Time
Meat Thermometer Accuracy: The Science of Getting the Right Temperature Every Time
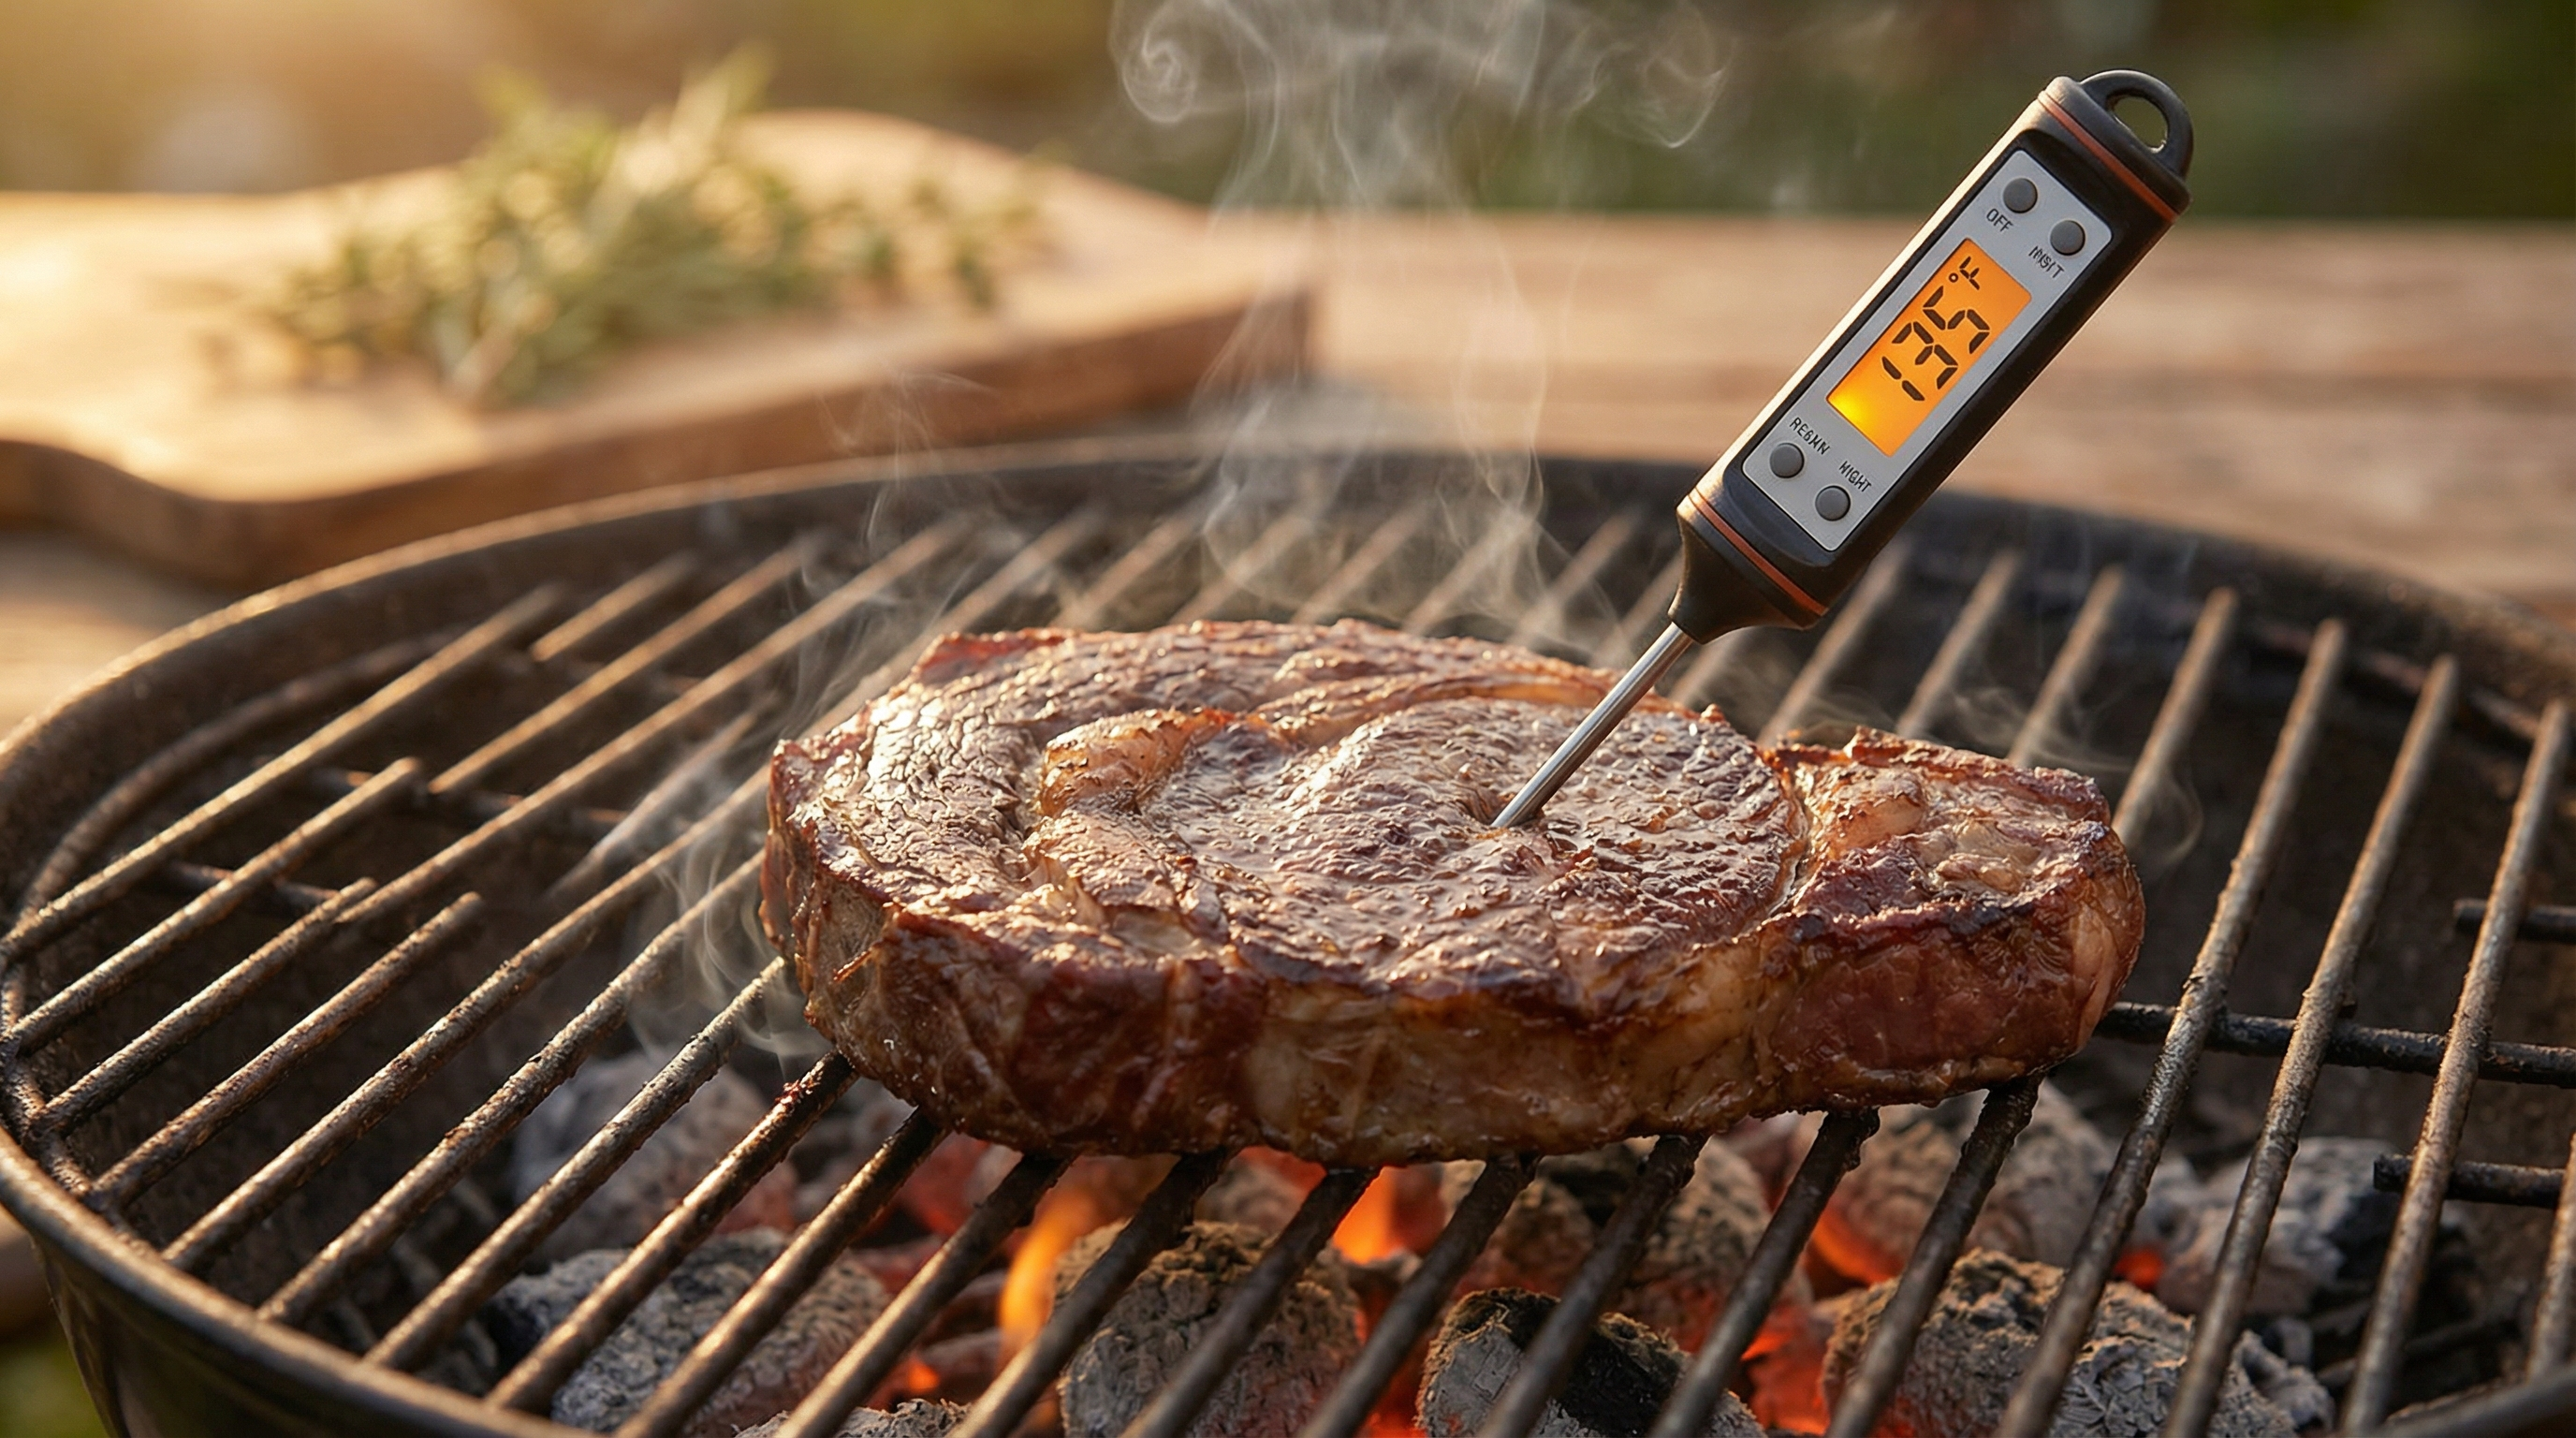
You check your steak with a thermometer. It reads 135°F. You pull it off, slice in, and it is clearly medium-well — nowhere close to the medium you expected. The thermometer lied. Or rather, something about how you used it, where you placed it, or the device itself introduced an error large enough to ruin the cook.
This happens more than most people realize. The difference between medium-rare and medium-well is only about 15°F. A thermometer that is off by 5°F — combined with poor placement that adds another 5°F of error — puts you in a completely different doneness zone.
Understanding the science behind thermometer accuracy is not obsessive perfectionism. It is the difference between cooking by feel and cooking with actual data.
How Meat Thermometers Actually Measure Temperature
Every meat thermometer is a temperature sensor attached to a display. But the sensor technology varies dramatically, and each type has different accuracy characteristics, response times, and failure modes.
Thermocouples
A thermocouple works by joining two different metals at a junction point. When that junction is heated, the two metals generate a small voltage proportional to the temperature difference between the junction (inside the meat) and the reference point (at the handle). This is the Seebeck effect, discovered in 1821.
The key advantage: thermocouples read temperature at the very tip of the probe — a point roughly 1-2mm across. This means you get a highly localized reading. The disadvantage is that they measure a tiny point, so if that point happens to be against a fat pocket or bone, you get a misleading number.
Professional-grade instant-read thermometers like the ThermoWorks Thermapen use thermocouples. They respond in 1-3 seconds and are accurate to ±0.7°F in their rated range.
Thermistors
A thermistor is a ceramic semiconductor whose electrical resistance changes predictably with temperature. As temperature rises, resistance drops (in an NTC thermistor — the type used in most consumer meat thermometers). A microchip measures this resistance and converts it to a temperature reading.
Thermistors sense temperature over a larger area than thermocouples — typically a zone 5-10mm long near the probe tip. This can actually be an advantage for meat, because you get an average reading over a slightly larger area rather than a single point. But it also means the probe must be inserted deeper to get the sensor fully into the thermal center.
Most digital leave-in probes and wireless thermometers use thermistors. Accuracy is typically ±1°F to ±2°F, with response times of 3-6 seconds.
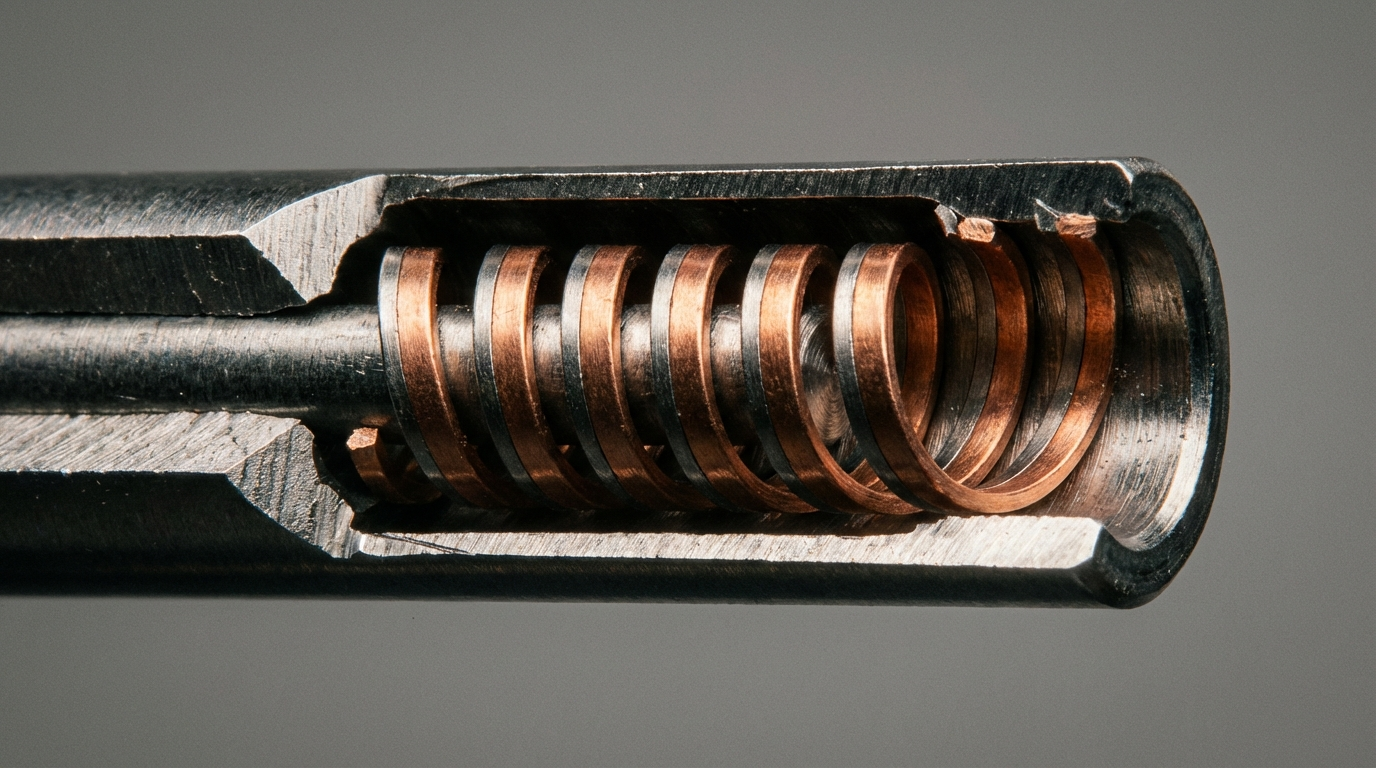
Bimetallic Strips (Dial Thermometers)
The classic dial meat thermometer uses a coiled strip made of two different metals bonded together. Because the metals expand at different rates when heated, the coil winds or unwinds, moving the needle on the dial.
This is the least accurate sensor type used in meat thermometers. The sensing zone is large — typically 2-3 inches along the probe stem. This means the reading represents an average over a large area, which can mask hot spots and cold spots. Accuracy is ±3°F to ±5°F when calibrated, and calibration drifts over time as the bimetallic strip fatigues.
Dial thermometers also respond slowly — 15-30 seconds for a stable reading — which means you are holding the grill or oven open longer and affecting the cook itself.
Infrared (Non-Contact)
Infrared thermometers measure the thermal radiation emitted by a surface. They are fast and convenient, but they only read surface temperature — they cannot measure the internal temperature of meat. An infrared gun is useful for checking grill grate temperature or skillet surface temperature, but it is physically incapable of telling you whether your steak is medium-rare inside.
The Four Types of Thermometer Compared
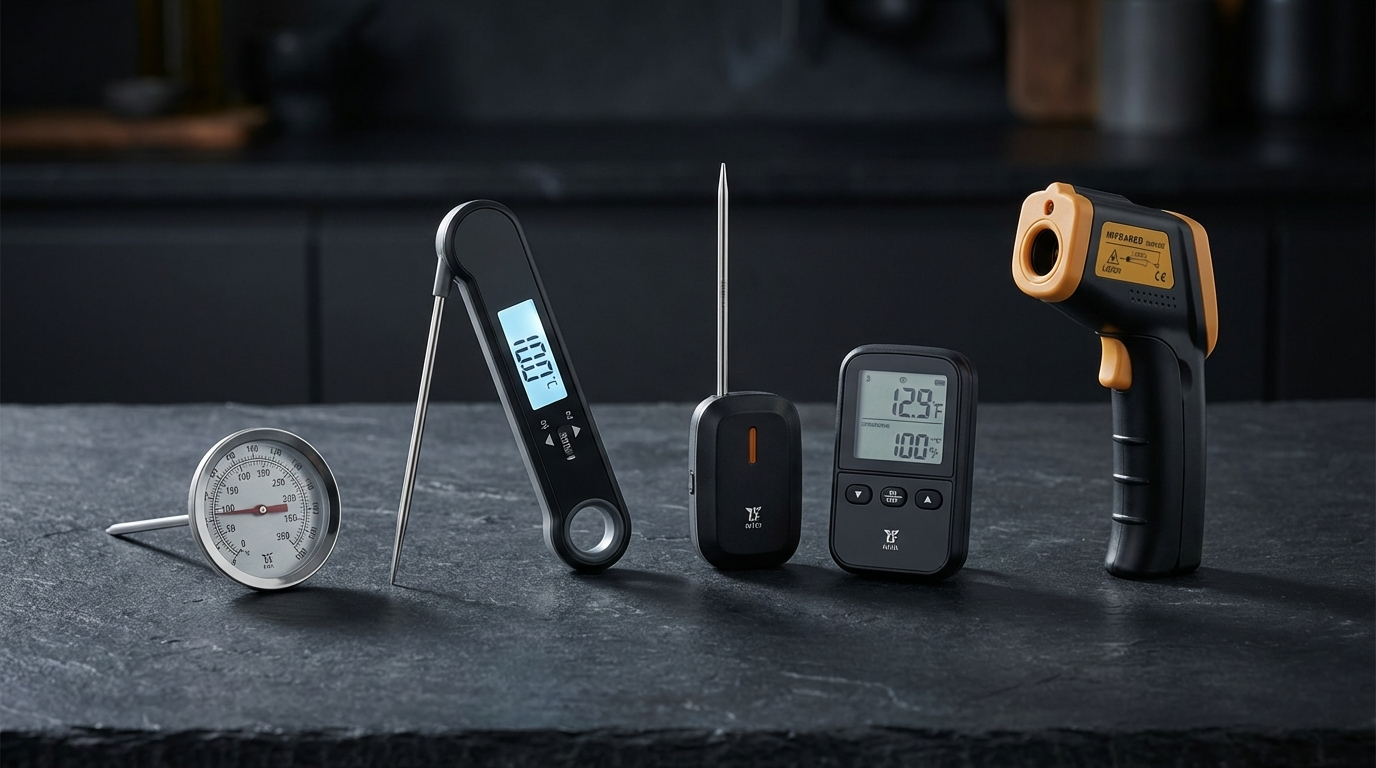
Here is how the four main types compare for grilling applications:
- Thermocouple (instant-read): ±0.7°F accuracy, 1-3 second response, reads at the tip, best for spot-checking steaks and burgers. Cannot be left in during cooking.
- Thermistor (digital probe): ±1-2°F accuracy, 3-6 second response, reads near the tip over a 5-10mm zone, best for leave-in monitoring during long cooks. Most wireless thermometers use this technology.
- Bimetallic (dial): ±3-5°F accuracy, 15-30 second response, reads over a 2-3 inch zone, inexpensive but imprecise. Calibration drifts over time.
- Infrared (gun): ±2-3°F for surface temperature only, instant response, cannot read internal meat temperature. Use for grill surface and ambient temperature only.
What Causes Inaccurate Readings
Even an accurate thermometer can give you wrong numbers if the conditions are not right. Understanding the sources of error lets you eliminate them systematically.
Thermal Lag
Every sensor takes time to reach thermal equilibrium with the surrounding meat. If you pull a reading before the sensor has fully equilibrated, the number is wrong. This is especially problematic with dial thermometers (15-30 seconds to stabilize) and thick probes.
The physics is straightforward: heat must conduct from the meat through the probe housing and into the sensor. Thicker probes with more thermal mass take longer. This is why thin-probe instant-read thermometers are faster — less metal to heat up before the sensor responds.
Probe Conduction Error
This is the most overlooked source of error in meat thermometry. The metal probe shaft conducts heat along its length. If the probe extends from hot meat into cooler air, heat conducts up the shaft and away from the sensor tip, pulling the reading down. Conversely, if the ambient temperature is hotter than the meat interior (common when checking deep inside a brisket during a hot smoke), the probe conducts heat inward and inflates the reading.
The fix: insert the probe so at least 1-2 inches of the shaft past the sensor zone is immersed in meat at approximately the same temperature as the target zone. This minimizes the temperature gradient along the shaft and reduces conduction error.
Placement Error
This is the single largest source of error in real-world grilling. The internal temperature of a piece of meat varies significantly from point to point.
- Near bone: Bone conducts heat faster than muscle. Readings near bone are typically 5-10°F higher than the surrounding muscle.
- In fat: Fat heats slower than lean muscle due to its lower thermal conductivity. A probe resting in a fat pocket reads lower than the adjacent lean.
- Near the surface: The outer half-inch of any grilled meat is significantly hotter than the center. A probe that is not deep enough reads artificially high.
- Thermal center vs. geometric center: The coldest point in the meat is not always the geometric center. In irregular cuts, the thermal center (the point that heats slowest) can be offset. This is the point you want to measure.
Calibration Drift
All thermometers drift over time. Bimetallic strips fatigue and lose accuracy. Thermistor circuits can drift as components age. Even thermocouples can shift if the junction is corroded or the wire is damaged.
Dropping a thermometer is the most common cause of sudden calibration loss. The impact can displace the bimetallic coil in a dial thermometer or crack a thermistor element. If you drop your thermometer, recalibrate immediately.
How to Calibrate Your Meat Thermometer
Calibration is the process of verifying your thermometer reads correctly at a known temperature reference point and correcting any offset. The simplest and most reliable method is the ice bath test.
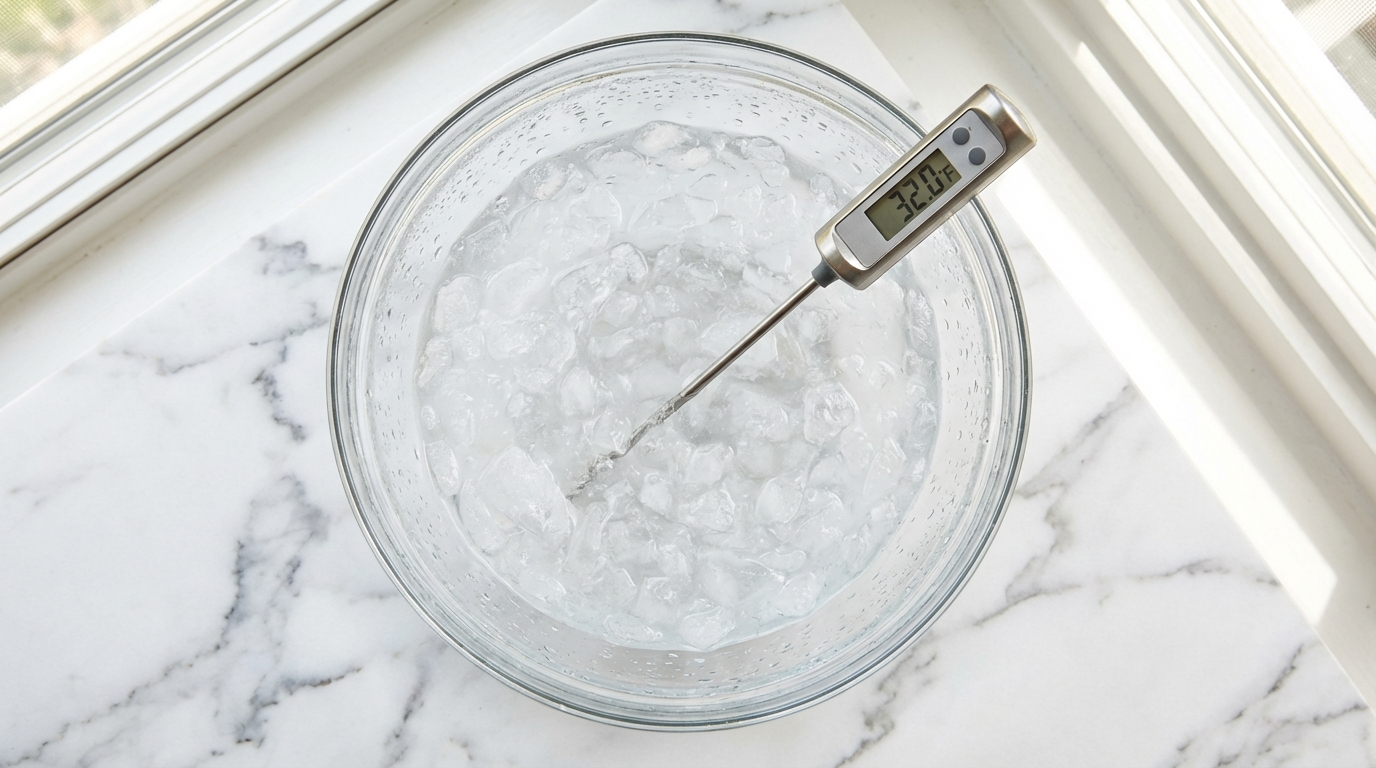
The Ice Bath Method (32°F / 0°C Reference)
This is the gold standard for home calibration because it requires no special equipment and provides a fixed-point reference defined by physics: the equilibrium temperature of ice and water at standard atmospheric pressure is exactly 32°F (0°C).
- Crush the ice. Use crushed or finely cracked ice, not large cubes. More surface area between ice and water ensures better thermal equilibrium throughout the bath.
- Fill a tall glass. Pack it full of crushed ice, then add cold water to the top. The ratio should be roughly 3:1 ice to water. You want a dense slurry, not water with a few ice cubes floating on top.
- Stir for 30 seconds. This equalizes the temperature throughout the bath. Without stirring, stratification occurs — the water near the top can be several degrees warmer.
- Insert the probe. Submerge at least 2 inches of the probe without touching the sides or bottom of the glass. Position the sensor zone in the middle of the ice slurry.
- Wait for a stable reading. For digital thermometers, wait until the display stops changing — typically 15-30 seconds. For dial thermometers, wait at least 60 seconds.
- Read and record. The thermometer should read 32°F ± its rated accuracy. A good instant-read should show 31-33°F. A dial thermometer should show 29-35°F.
Adjusting for Offset
If your thermometer reads 34°F in the ice bath, it is reading 2°F high. You have two options:
- Dial thermometers: Turn the calibration nut (the small hex nut on the back of the dial) while holding the probe in the ice bath until the needle reads 32°F. Use pliers or a small wrench.
- Digital thermometers: Some models have a calibration button. If yours does not, simply note the offset and subtract it from all future readings. If your unit reads 2°F high, pull your steak when it reads 137°F instead of 135°F.
The Boiling Water Method (212°F / 100°C Reference)
Boiling water provides a second reference point, but with an important caveat: the boiling point of water varies with altitude and atmospheric pressure. At sea level, water boils at 212°F. At 5,000 feet elevation, it boils at approximately 203°F. If you use this method, look up the standard boiling point for your elevation.
The boiling water test is most useful for verifying accuracy at the high end of the cooking range — near the temperatures you actually use for grilling. The ice bath alone only confirms accuracy at 32°F.
How Often to Calibrate
Calibrate your primary thermometer at least once a month during grilling season, and any time after dropping it, exposing it to extreme temperature swings, or getting inconsistent results. A 30-second ice bath test before every important cook is not overkill — it is the same verification step professional kitchens use every shift.
Proper Thermometer Placement for Accurate Readings
The most accurate thermometer in the world gives useless data if the probe is in the wrong spot. Correct placement requires understanding the thermal profile of different cuts.
Steaks (1 inch or thicker)
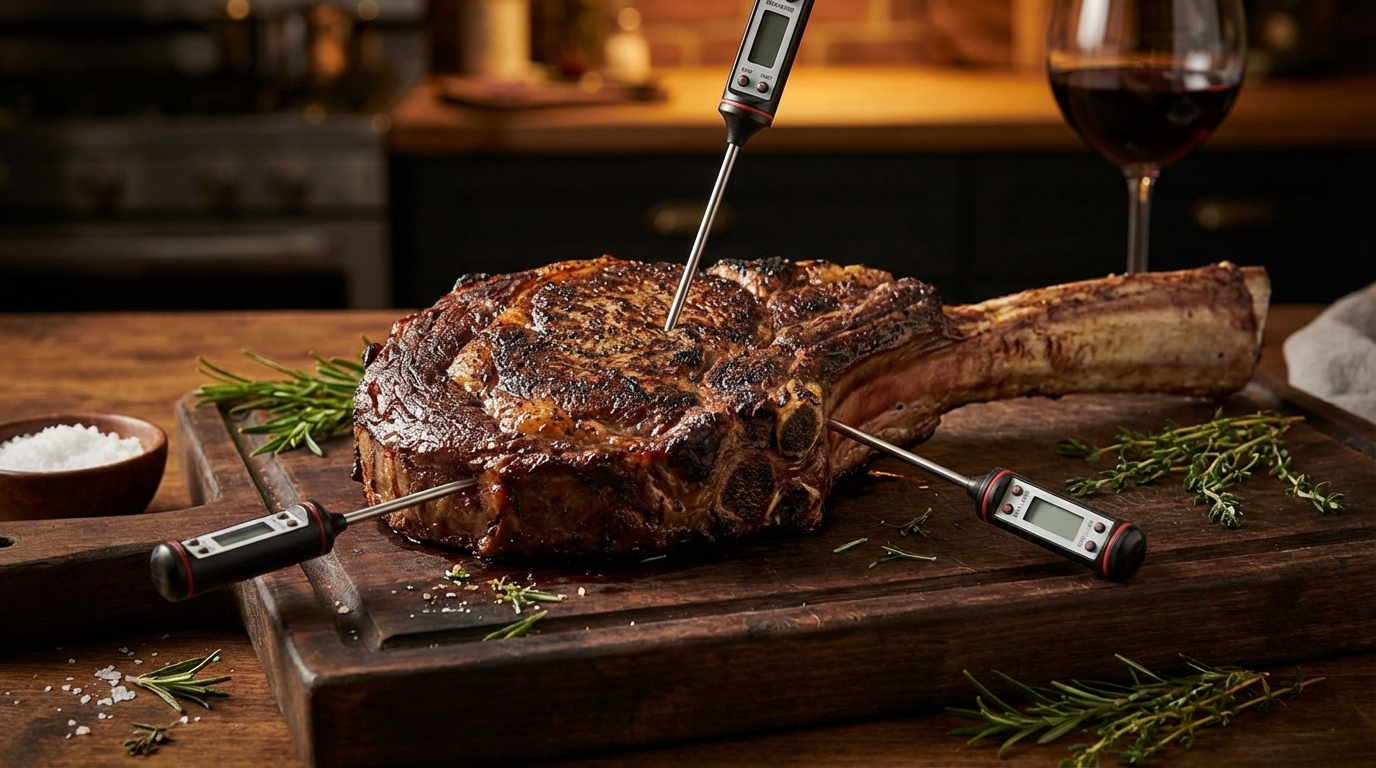
Insert the probe horizontally through the side of the steak, pushing it into the geometric center. Going in from the top drives through temperature gradients from the hot surface to the cool center, and the reading will be higher than the true center temperature. A horizontal insertion from the thickest edge places the entire sensor zone at the same depth, giving you the coldest point — which is the one that matters for doneness.
Chicken Breasts and Thighs
For bone-in chicken, insert the probe into the thickest part of the meat, angled away from the bone. The thermal center of a chicken thigh is typically the deepest point between the two bones. For boneless breasts, insert horizontally at the thickest point. Avoid the tapered thin end — it will be well past the target temperature before the thick end reaches it.
Whole Poultry
The innermost part of the thigh (near the hip joint) is the slowest part of a whole chicken or turkey to reach temperature. Insert the probe into the thickest part of the thigh, approaching from the side of the bird, angling toward the joint without touching bone. When this point reads 165°F, the entire bird is safe.
Roasts and Brisket
Large roasts have a thermal center that may be offset from the geometric center if the shape is irregular. For a brisket, the thermal center is typically in the thickest part of the flat, not the point. Insert the probe from the end or side, advancing it to the approximate center of the thickest cross-section. For large cuts, taking readings from multiple points is smart — the first spot that reaches temperature may not be representative of the whole piece.
Burgers
Burgers are thin enough that probe placement is critical. Insert the probe from the side, parallel to the flat surfaces, pushing it to the center. Going in from the top risks overshooting through the thin patty and reading the grill grate temperature instead. For patties less than half an inch thick, a thermocouple with a thin tip is the only reliable option.
Common Mistakes That Ruin Accuracy
Knowing the science is not enough if you are still making practical errors. These are the most frequent accuracy killers:
- Checking too early and too often. Every time you open the grill lid to insert a thermometer, you lose heat. The meat surface cools, the grill temperature drops, and your cook time extends. For long cooks, use a leave-in probe. For grilling, limit spot-checks to reasonable intervals.
- Not waiting for stabilization. The number that flashes first is not the final number. Wait for the reading to stabilize — at least 3 seconds on a fast thermocouple, 5-8 seconds on a thermistor, 30 seconds on a dial. Impatience is inaccuracy.
- Touching bone or the grill grate. Bone and metal are at different temperatures than the meat interior. If the sensor zone touches either, the reading is wrong. Pull back slightly and recheck.
- Using the wrong thermometer for the job. A dial thermometer in a thin burger. An infrared gun trying to read internal temperature. A leave-in probe in a steak that is only on the grill for 8 minutes. Match the tool to the task.
- Ignoring carryover cooking. The thermometer may be perfectly accurate — but if you pull the meat at exactly your target temperature without accounting for carryover, you overshoot by 5-15°F. The thermometer was not wrong. Your pull temperature was.
The Bottom Line: Temperature Is Data
A meat thermometer is a measuring instrument. Like any instrument, its value depends entirely on calibration, proper use, and understanding its limitations.
Calibrate monthly. Insert the probe in the right place. Wait for stabilization. Account for the physics of heat transfer. Do these things and your thermometer becomes the most reliable tool on your grill.
Stop guessing. Measure. But measure correctly.
Frequently Asked Questions
How accurate should a meat thermometer be?
A good instant-read thermometer should be accurate within ±1°F to ±2°F. Dial thermometers are typically accurate within ±3°F to ±5°F. If your readings are off by more than that, the thermometer needs calibration or replacement.
How do you calibrate a meat thermometer with ice water?
Fill a glass with crushed ice, then add cold water to the top. Stir for 30 seconds, insert your thermometer probe at least 2 inches deep without touching the sides, and wait for a stable reading. It should read 32°F (0°C). If not, adjust the calibration nut on a dial thermometer, or note the offset for a digital model.
Why does my meat thermometer give different readings in different spots?
Meat is not a uniform material. Temperature varies throughout based on proximity to bone, fat pockets, muscle fiber density, and distance from the heat source. Always measure at the thermal center — the thickest part of the meat, away from bone and fat — for the most representative reading.
Can a meat thermometer be wrong even if it is new?
Yes. Factory calibration can drift during shipping due to vibration and temperature changes. Even a new thermometer should be verified with an ice bath test before first use. Studies have found new thermometers off by up to 4°F out of the box.
More Expert Guides
Steak Doneness Temperature Guide: The Science of Every Level from Rare to Well Done
Every degree matters. This science-backed guide covers the exact internal temperatures for every steak doneness level, why each temperature produces a different texture, and how to nail your target every time.
14 min readDirect vs Indirect Heat Grilling: The Science of Two-Zone Cooking
Direct heat sears. Indirect heat roasts. Understanding the physics of each — and when to combine them — is the foundation of every great grilling technique.
14 min readResting Meat After Cooking: The Science of Why It Makes Every Steak Juicier
Resting meat after cooking is not optional — it is physics. Here is exactly what happens inside the steak during those crucial minutes and how long to rest every cut.