Reverse Sear Ribeye: The Science Behind the Perfect Steak
The reverse sear ribeye isn't just another cooking method—it's the method that changed everything I understood about steak.
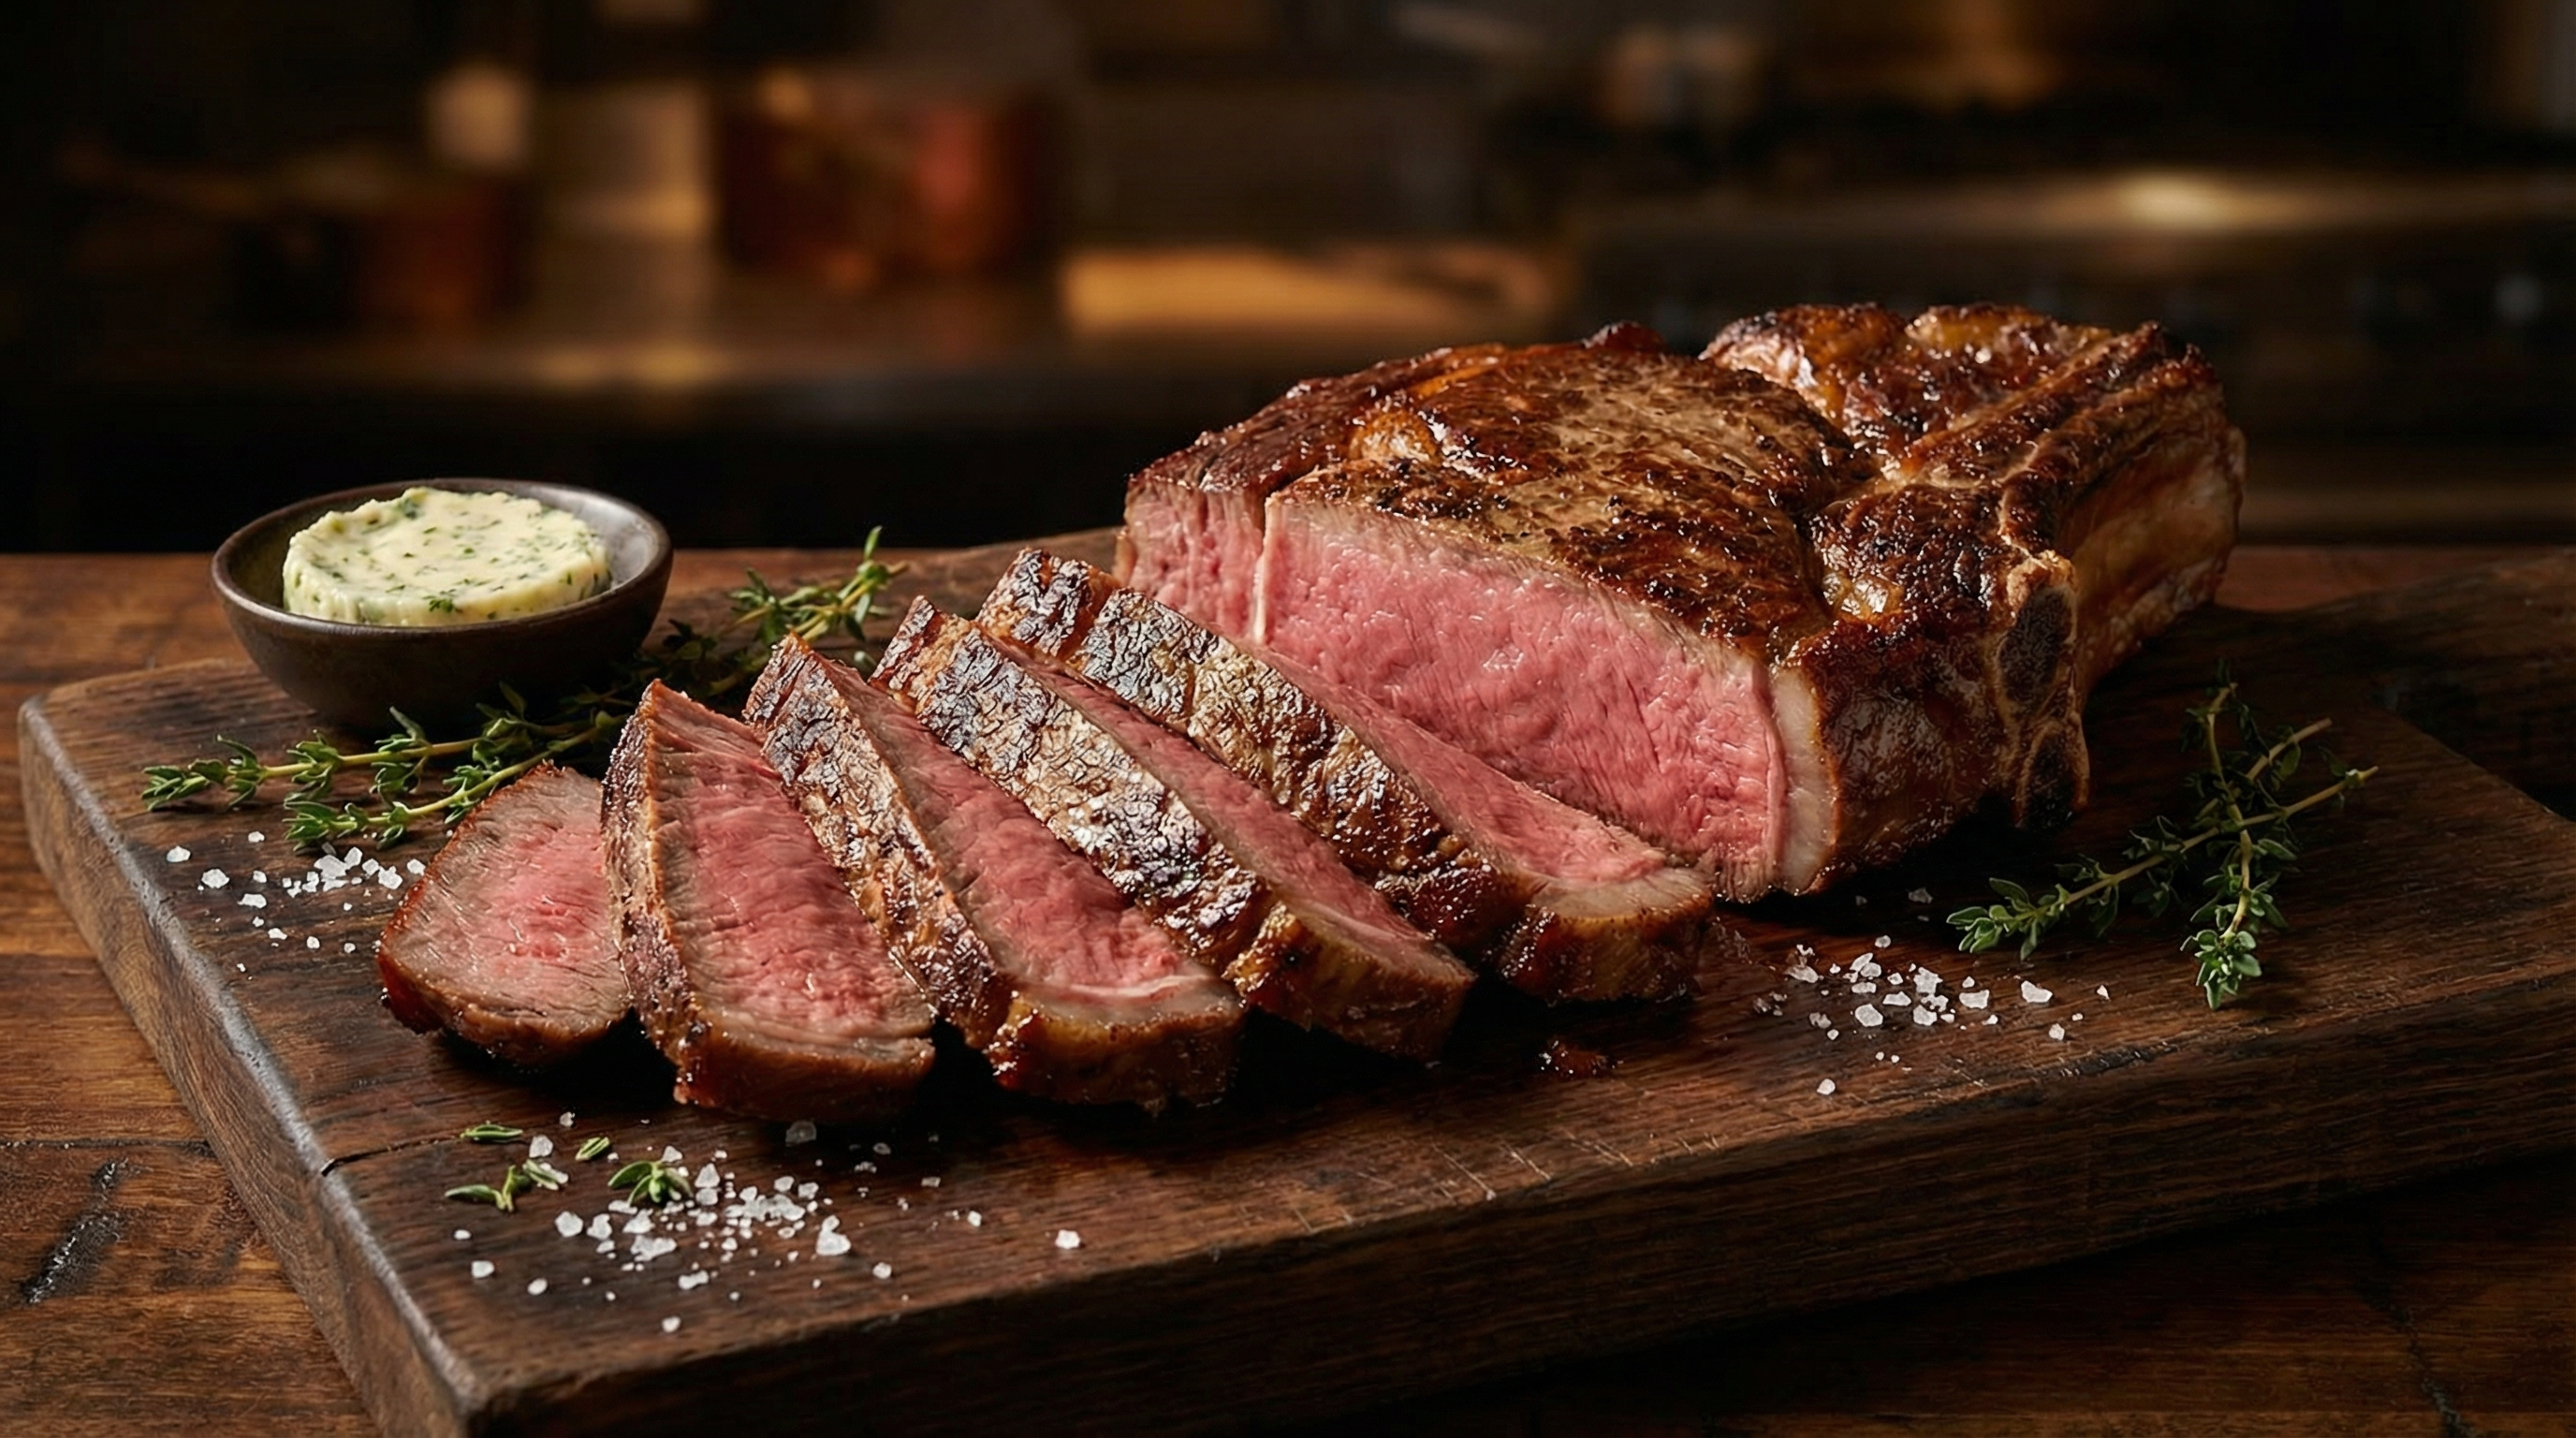
Traditional searing starts hot and finishes in the oven. The reverse sear flips that script: start low in the oven, finish screaming hot in the pan. The result? Edge-to-edge medium-rare with a crust that would make a steakhouse jealous.
Why the Reverse Sear Works: The Science
Problem #1: The Gray Band
When you slap a cold steak on a hot pan, the outer layers overcook before the center reaches temperature. That's the dreaded "gray band"—the ring of overcooked meat between the crust and the pink center.
The fix: By bringing the internal temperature up slowly in a low oven (225°F), you minimize the temperature gradient. The center and the edges reach your target temp together. No gray band.
Problem #2: The Soggy Surface
Moisture is the enemy of crust. A wet surface can't exceed 212°F (water's boiling point), which means no Maillard reaction—the chemical process that creates that savory, caramelized crust.
The fix: The low oven acts as a dehydrator, drying the steak's surface while it slowly cooks. When you finally sear, the surface is dry and ready to brown instantly.
Choosing Your Ribeye
Not all ribeyes are equal. For the reverse sear, you want:
- Thickness: At least 1.5 inches. Thinner steaks cook too fast in the oven phase.
- Marbling: USDA Prime or Choice at minimum. American Wagyu ribeyes are ideal.
- Bone-in vs. Boneless: Both work. Bone-in takes slightly longer but adds presentation.
Step-by-Step: Reverse Sear Ribeye
Day Before (Optional but Recommended)
Dry brine: Salt your ribeye generously on all sides. Place on a wire rack over a sheet pan, uncovered, in the refrigerator for 12-24 hours.
Day Of
Step 1: Temper — Remove the steak from the fridge 45-60 minutes before cooking.
Step 2: Low Oven — Preheat your oven to 225°F. Place the steak on the wire rack/sheet pan in the center of the oven.
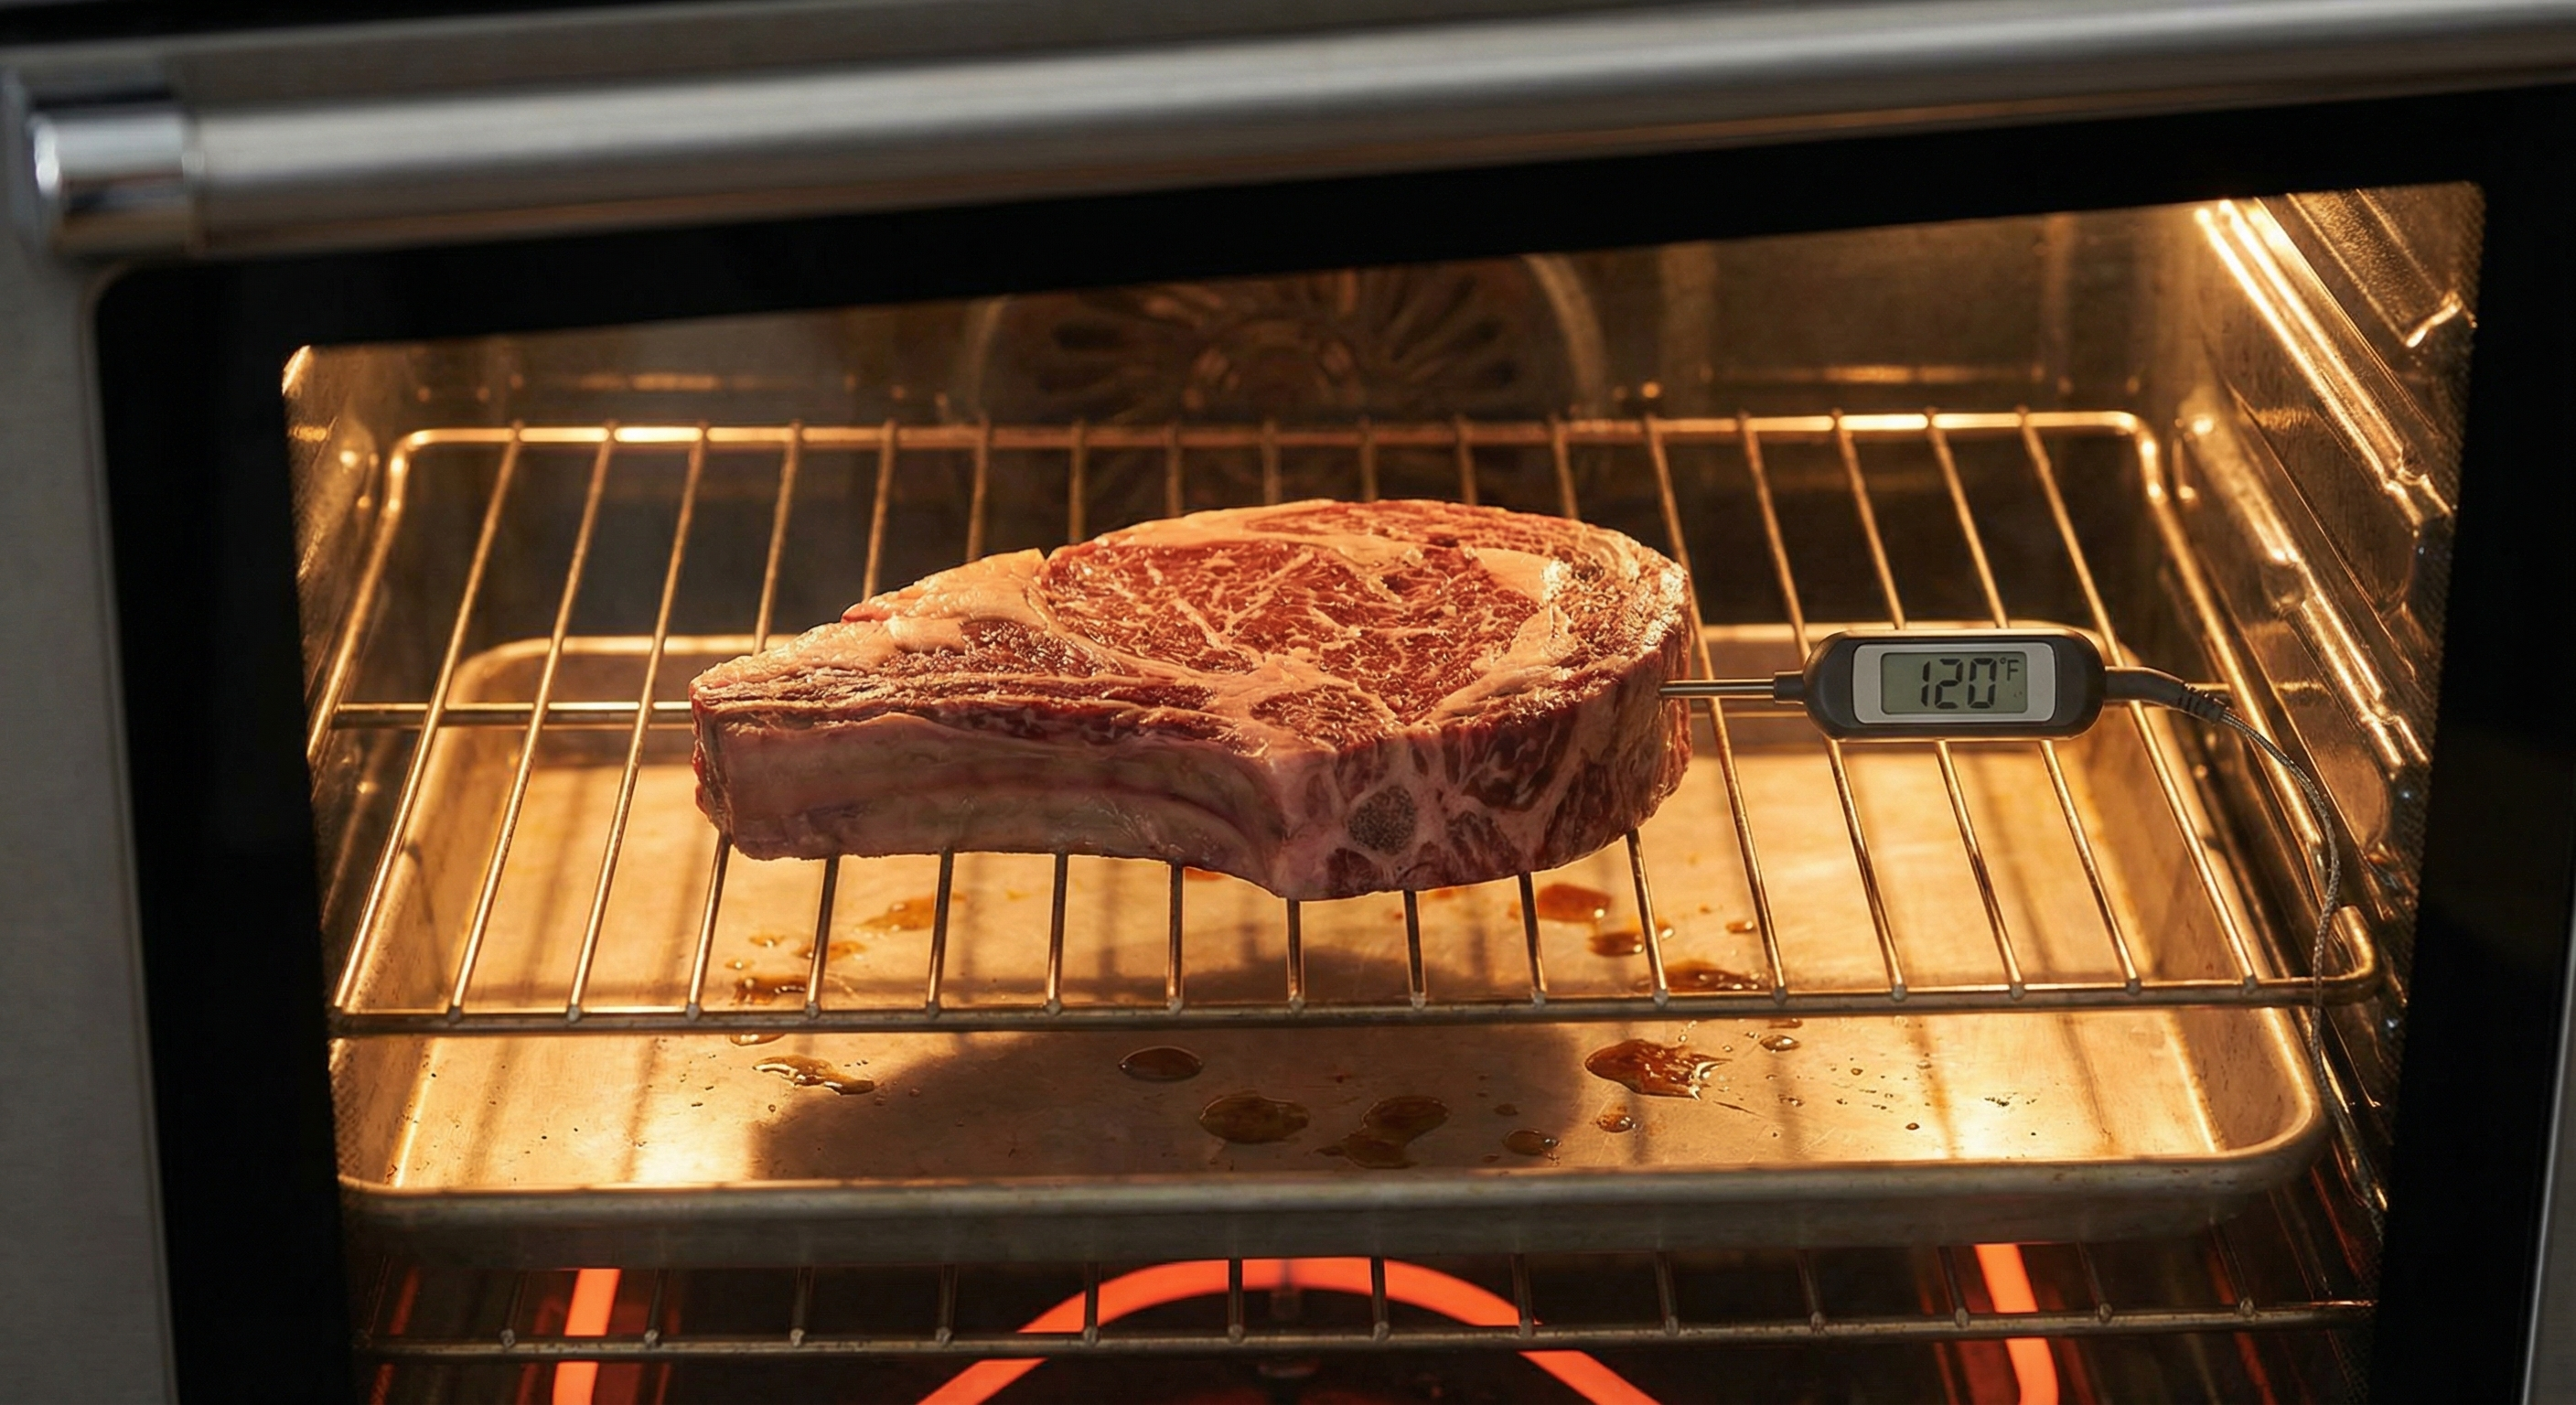
Step 3: Monitor Temperature — Cook until the internal temp reaches 115°F for medium-rare (10-15°F below your target).
- 1.5-inch ribeye: ~45-50 minutes
- 2-inch ribeye: ~55-65 minutes
- 2.5-inch tomahawk: ~70-90 minutes
Step 4: Rest — Remove the steak and let it rest 10-15 minutes while you heat your skillet.
Step 5: The Sear — Get your cast iron smoking hot over high heat (3-5 minutes). Add 1 tablespoon of high smoke-point fat.
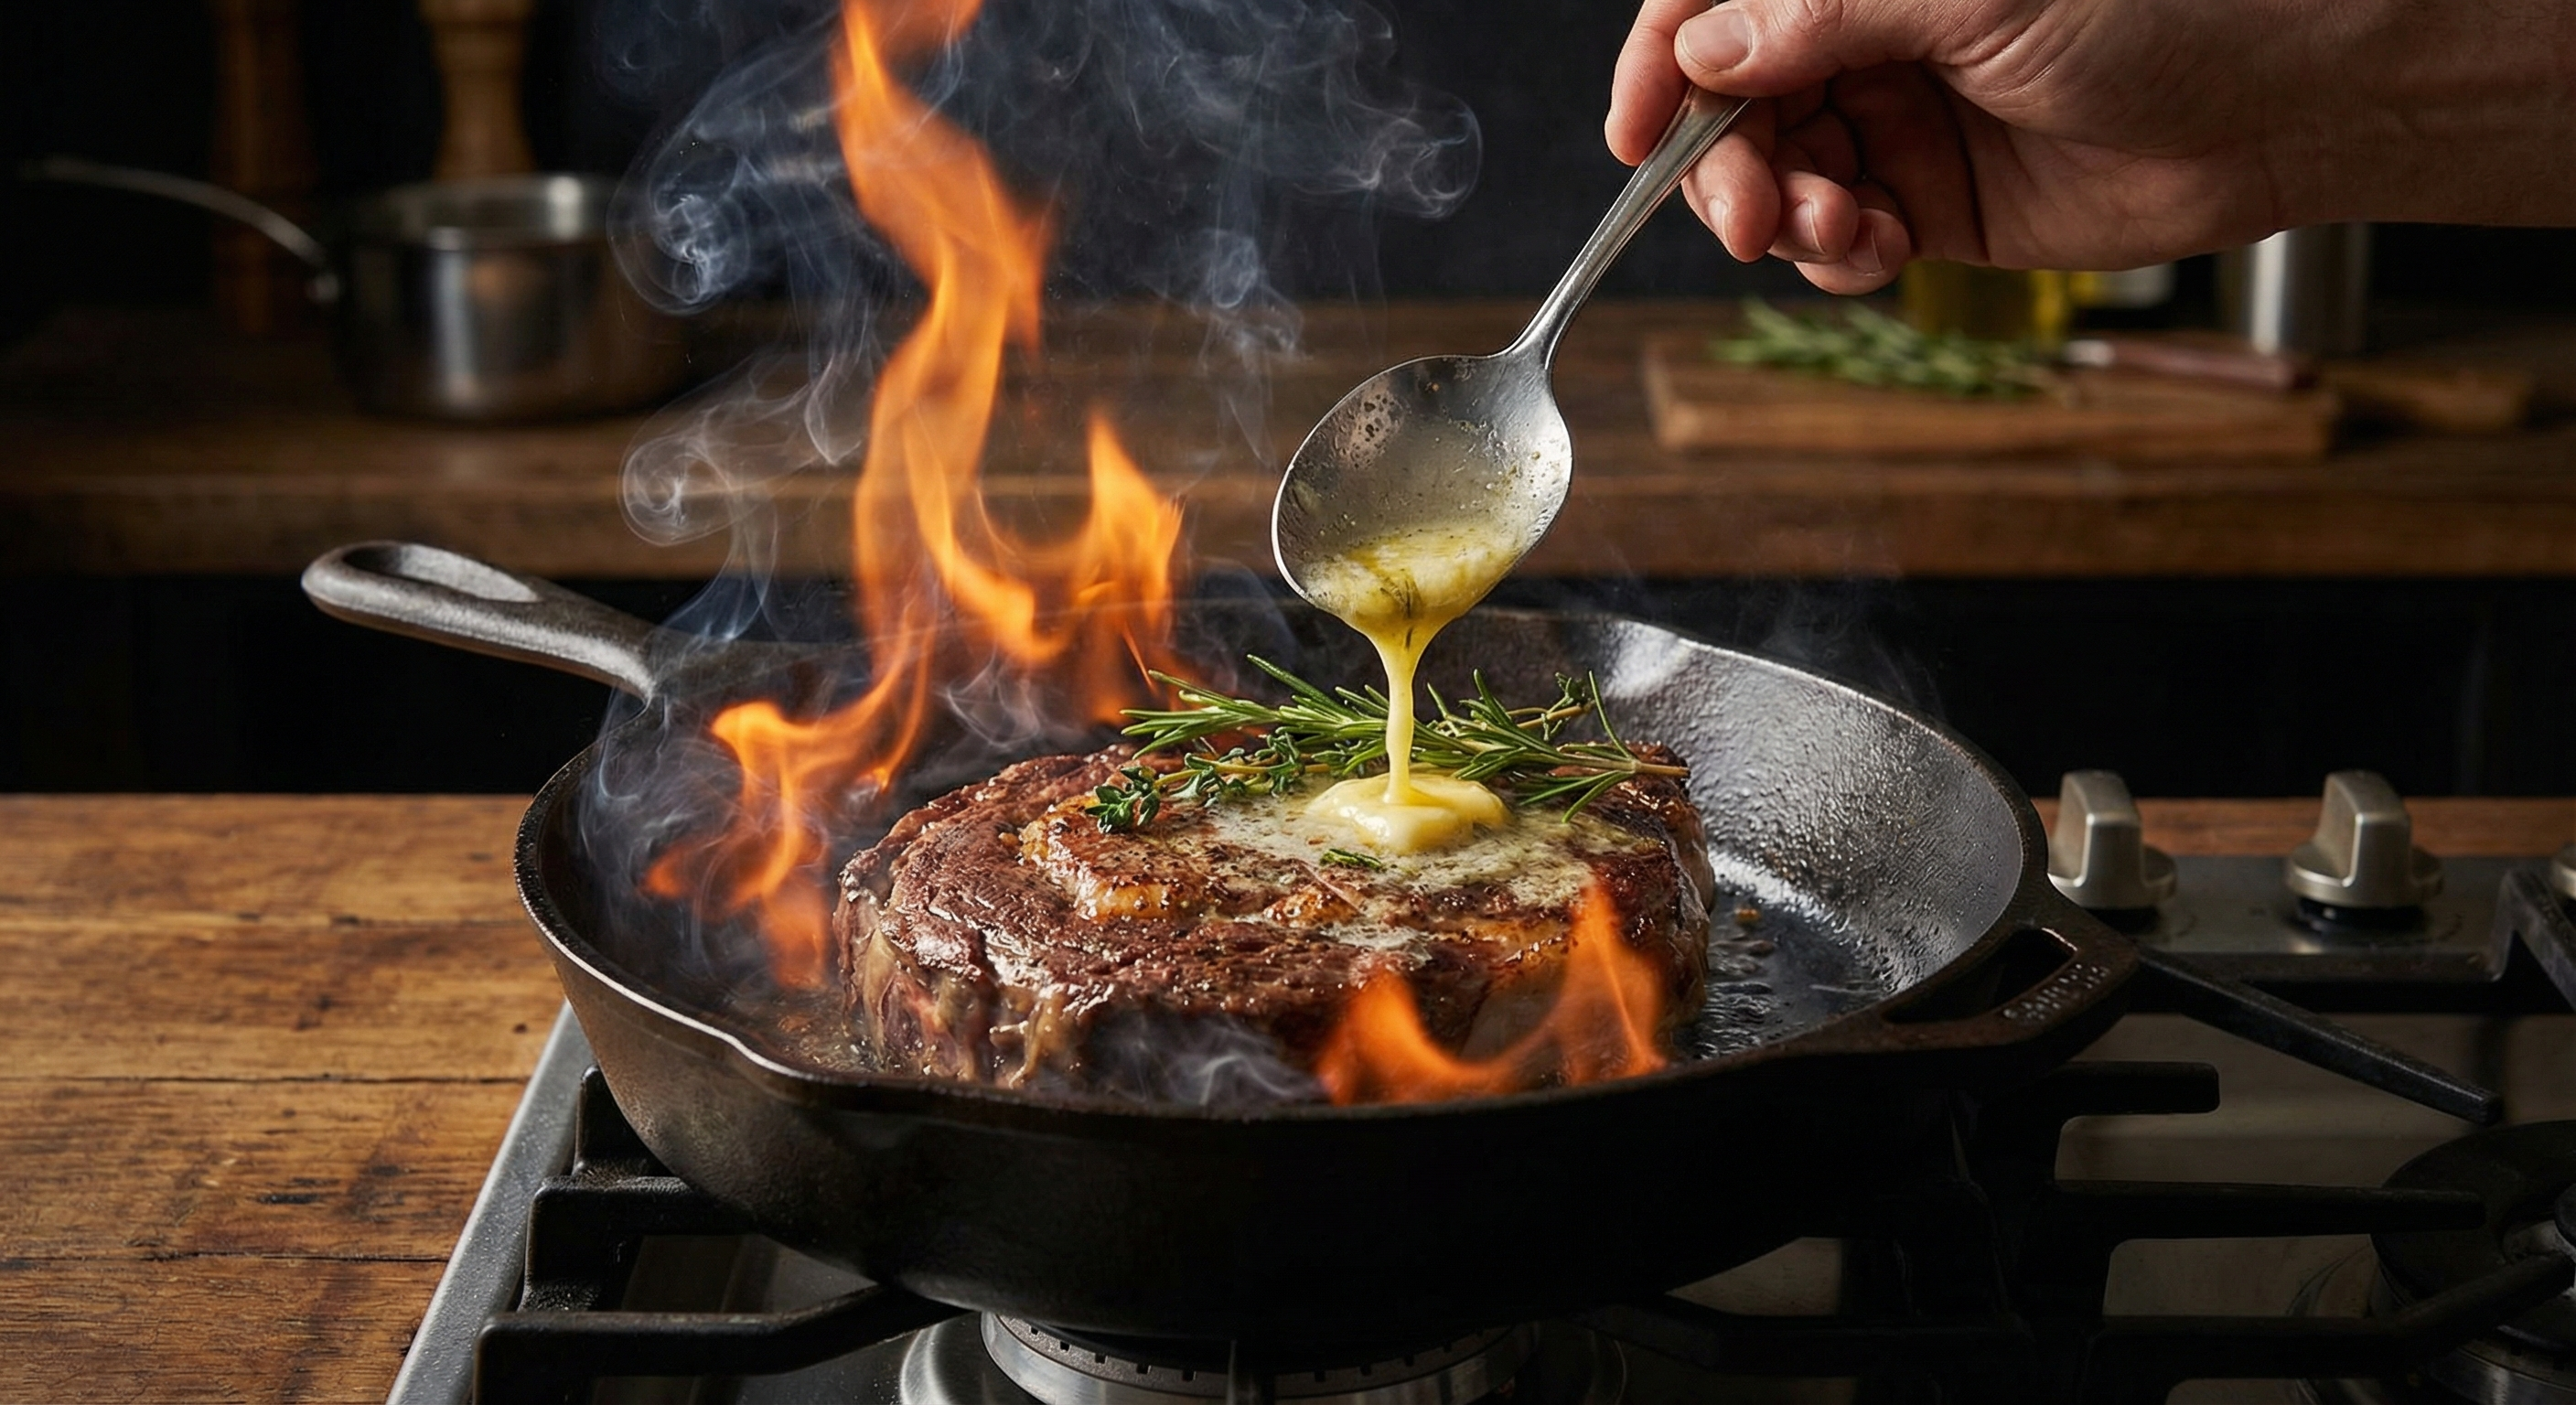
Sear the ribeye for 45-60 seconds per side. Press gently for contact. Add butter, crushed garlic, and fresh thyme in the last 30 seconds, basting continuously.
Step 6: Serve Immediately — Since the steak already rested, slice and serve right away.
Internal Temperature Targets
| Doneness | Pull from Oven | Final Temp After Sear |
|---|---|---|
| Rare | 105°F | 120°F |
| Medium-Rare | 115°F | 130°F |
| Medium | 125°F | 140°F |
| Medium-Well | 135°F | 150°F |
For ribeye specifically, medium-rare to medium (130-140°F) is ideal. You want the fat fully rendered—a rare ribeye leaves too much unmelted fat.
Ready to Try It?
The reverse sear ribeye is forgiving once you understand the science. Slow oven, dry surface, ripping hot sear. That's the formula.
For the best results, start with quality beef. Our American Wagyu ribeyes have the marbling this method was designed to showcase.
More Expert Guides
Steak Doneness Temperature Guide: The Science of Every Level from Rare to Well Done
Every degree matters. This science-backed guide covers the exact internal temperatures for every steak doneness level, why each temperature produces a different texture, and how to nail your target every time.
14 min readDirect vs Indirect Heat Grilling: The Science of Two-Zone Cooking
Direct heat sears. Indirect heat roasts. Understanding the physics of each — and when to combine them — is the foundation of every great grilling technique.
14 min readResting Meat After Cooking: The Science of Why It Makes Every Steak Juicier
Resting meat after cooking is not optional — it is physics. Here is exactly what happens inside the steak during those crucial minutes and how long to rest every cut.