The Science Behind Reverse Searing: Why Low-and-Slow Finishes Win
As a food scientist, I often get asked if "fancy" cooking methods are actually worth the effort. In the case of the reverse sear, the answer is an unequivocal yes. This isn't just a trend; it is the most thermodynamically sound method for cooking a thick-cut steak.
Traditional methods rely on high heat from the start, creating a steep temperature gradient that guarantees overcooked edges by the time the center is done. The reverse sear flips the script, using the principles of thermal diffusion and surface dehydration to achieve what was once thought impossible: perfect edge-to-edge doneness with a steakhouse-quality crust.
The Thermodynamics of Heat Transfer
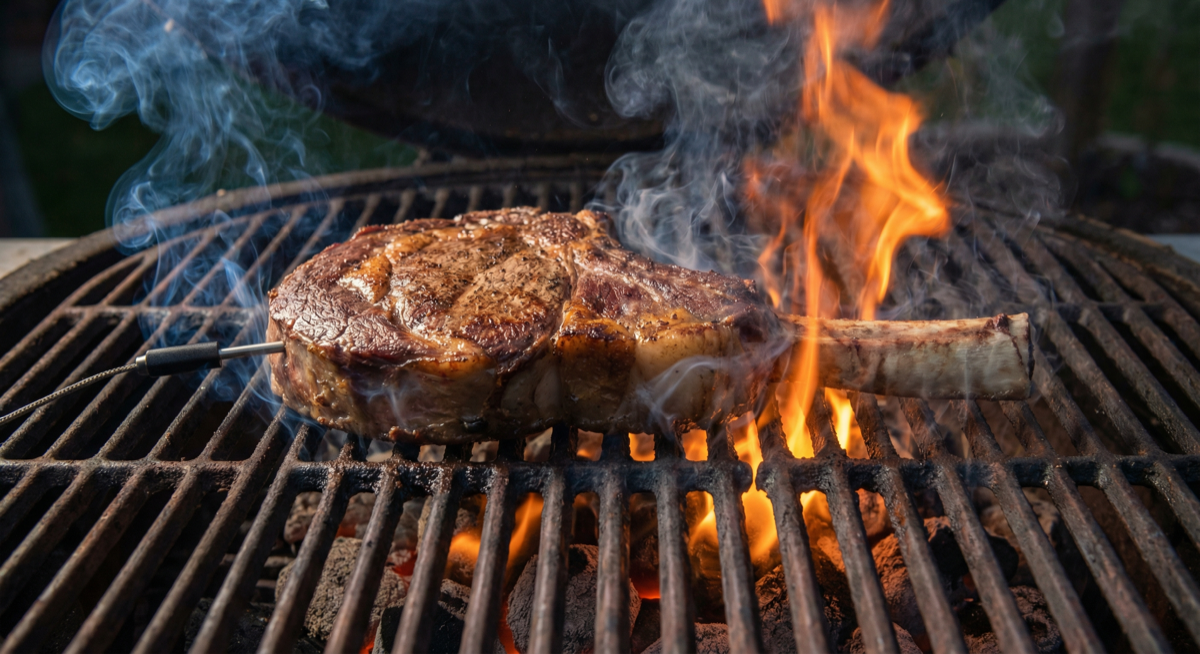
To understand why reverse searing wins, we have to look at how heat moves through meat. Muscle tissue is roughly 75% water, and water is a terrible conductor of heat compared to metal, but much better than air. When you place a cold steak (40°F) into a hot pan (500°F+), you create a massive thermal gradient.
Energy rushes from the pan into the surface of the meat. The surface temperature spikes instantly, but because the meat acts as an insulator, that heat takes time to travel to the center. By the time the center reaches 130°F (medium-rare), the outer ½ inch of the steak has been exposed to intense heat for minutes, rising to 160°F or higher. This creates the "gray band"—a ring of dry, overcooked meat surrounding the perfect center.
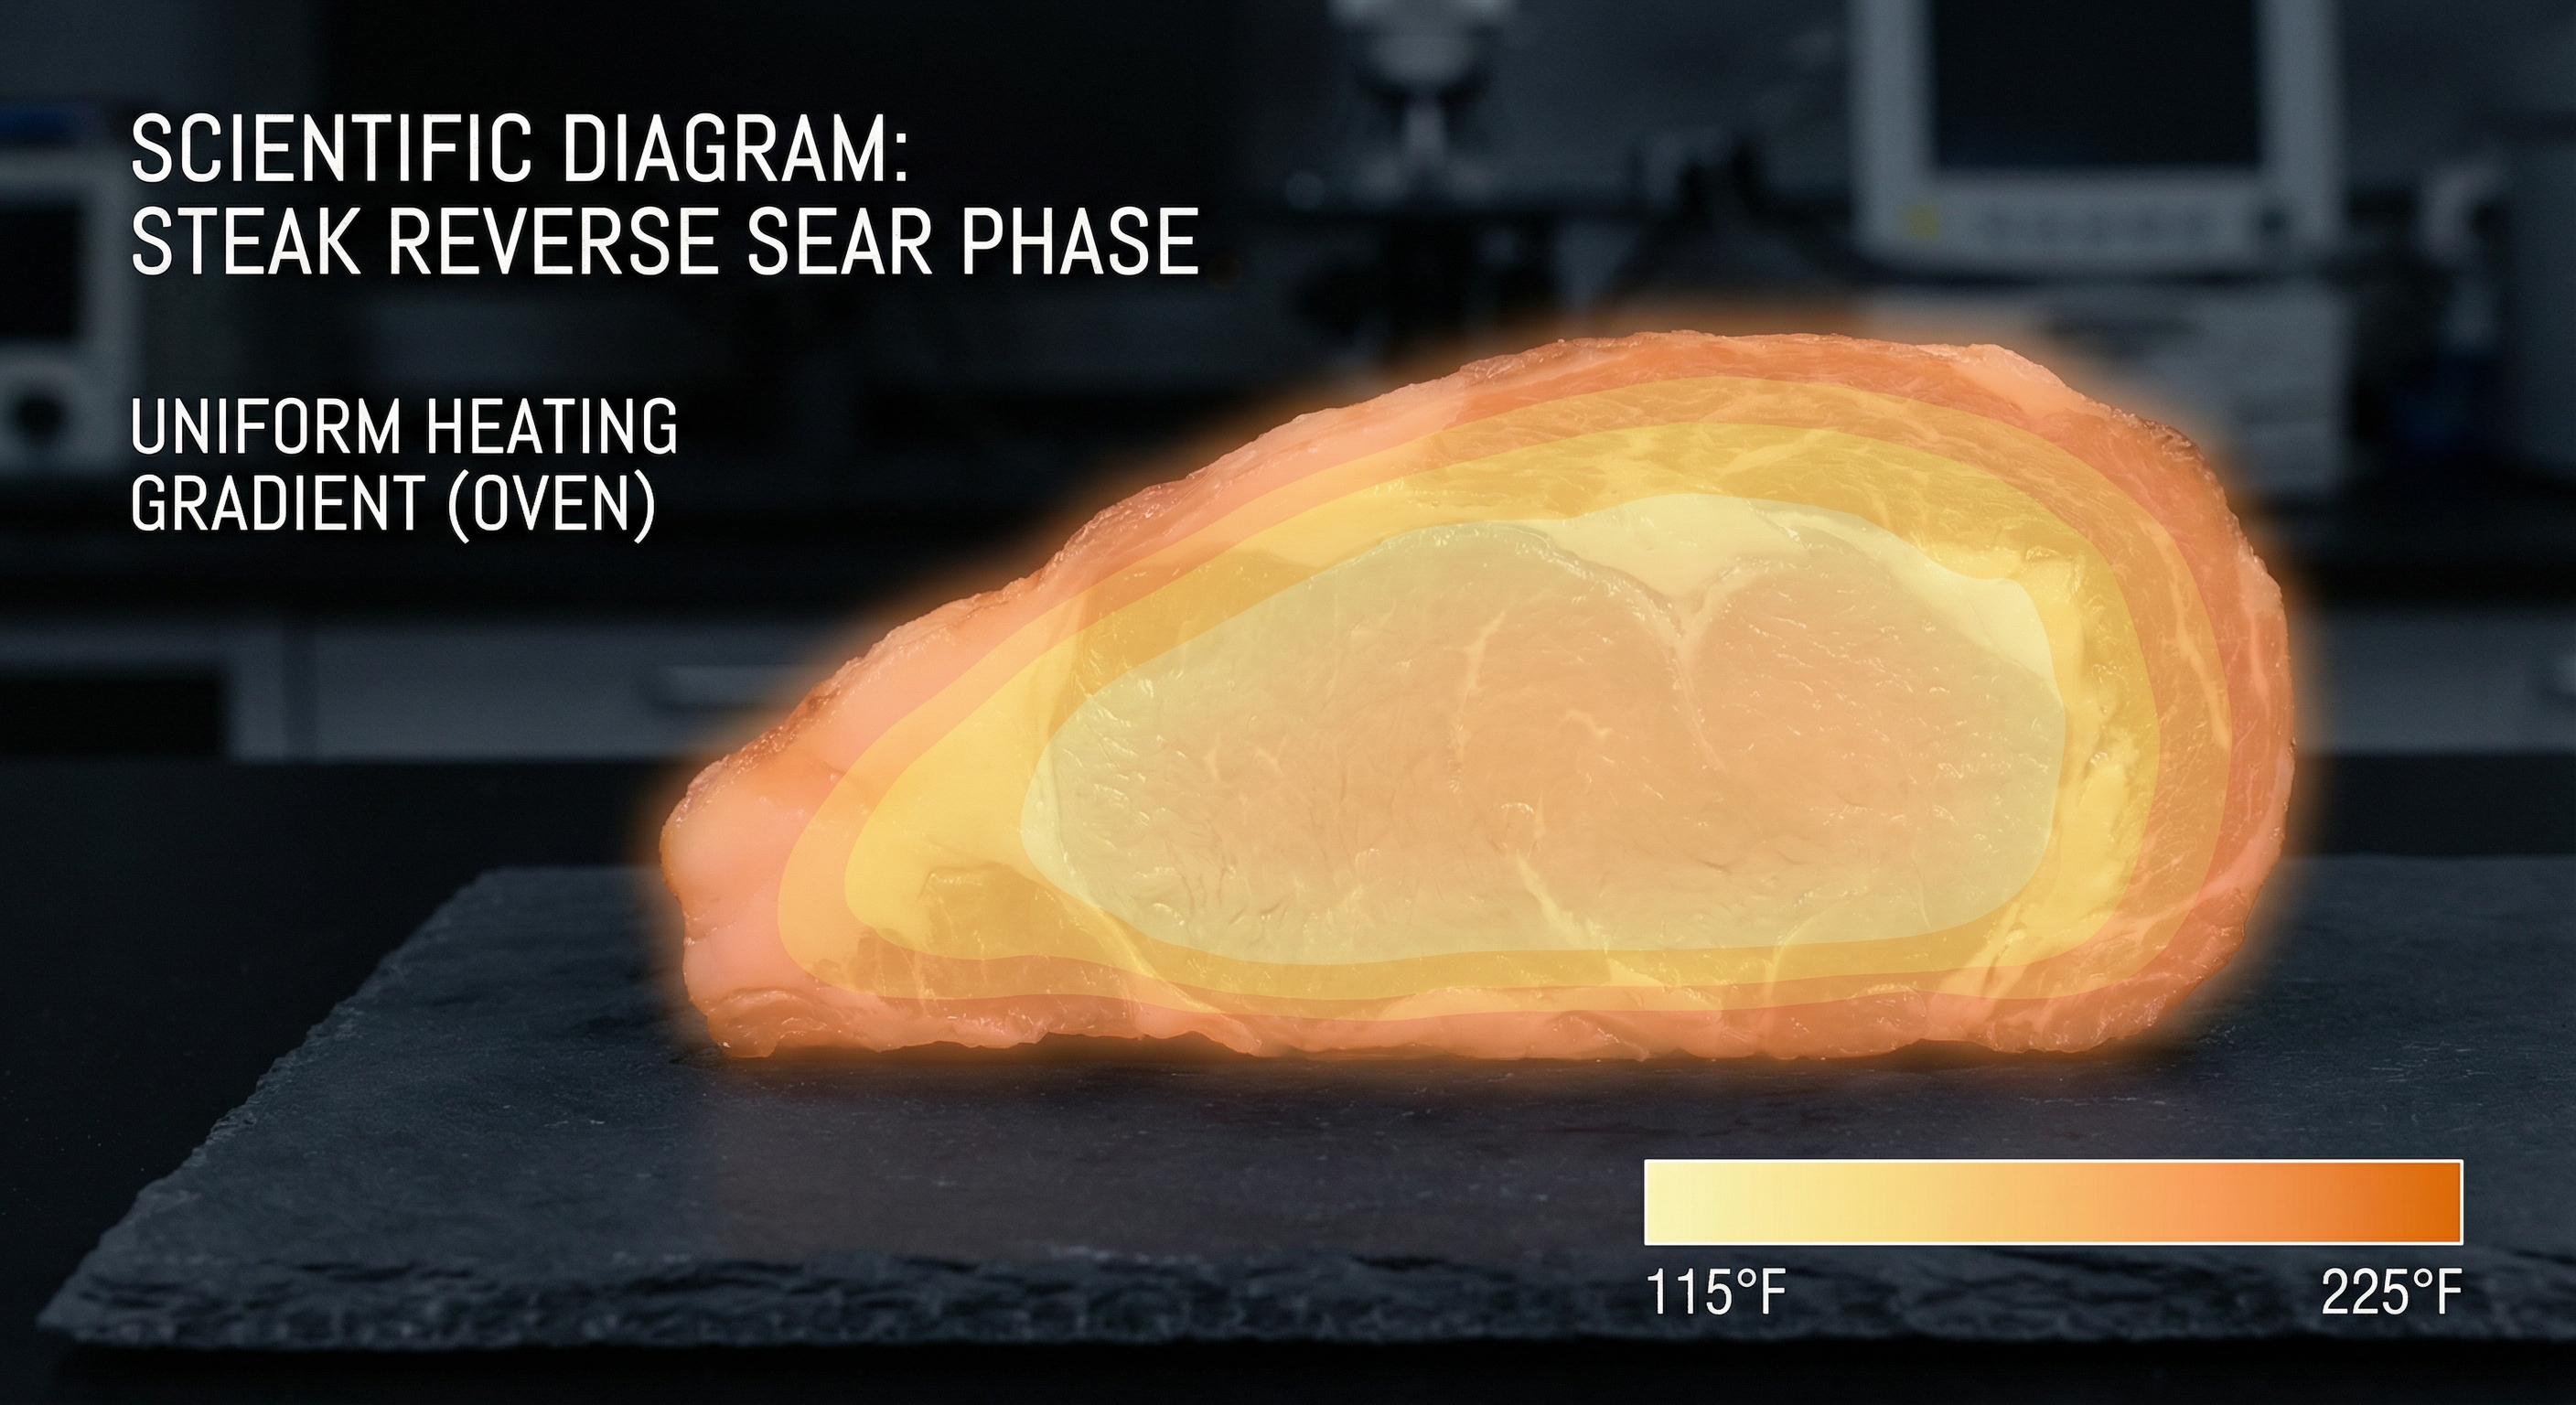
The Reverse Sear Solution: By starting in a low-temperature environment (225°F-275°F), we drastically reduce the thermal gradient. Heat enters the meat gently. The difference between the surface temperature and the center temperature remains small throughout the cook. The result is a steak that is uniform in temperature from distinct edge to distinct edge.
The Dehydration Advantage: Maillard Maximization
The second scientific victory of the reverse sear happens on the surface. The Maillard reaction—that complex chemical cascade that creates savory, browned flavors—cannot effectively begin until surface moisture evaporates. Water boils at 212°F. The Maillard reaction thrives above 300°F.
In a traditional sear, the first few minutes of cooking are wasted energy. You are simply boiling off surface water while the gray band grows deeper. With the reverse sear, the warm, dry air of the oven acts as a dehydrator. After 45 minutes at 225°F, the surface is dry to the touch.
When this dry steak hits the hot pan, browning is almost instantaneous. You don't need to sear for 4 minutes to get a crust; you need 45 seconds. Less time in the pan means less heat penetration, preserving that perfect edge-to-edge medium-rare you built in the oven.
Ideal Cuts for Reverse Searing
While the science holds for any protein, the benefits of reverse searing are most pronounced with thick, premium cuts. The thicker the steak, the more difficult it is to cook evenly with direct heat.
- Ribeye & Tomahawk: The intramuscular fat (marbling) renders beautifully during the slow rise in temperature. Our American Wagyu ribeyes are particularly suited for this, as the gentle heat melts the abundant fat without rendering it out completely.
- Thick-Cut Strip: A 2-inch New York Strip benefits roughly the same as a ribeye.
- Filet Mignon: Because it lacks fat cover, filet is very prone to drying out. The gentle heat of reverse searing protects the delicate protein structure.
Note: I do not recommend reverse searing steaks thinner than 1.5 inches. The time it takes to develop a crust on a thin steak will overcook the center regardless of the method. For thin cuts like a standard skirt steak or flank, direct high heat is still king.
Step-by-Step: The Scientific Method
1. Preparation and Tempering
Remove your steak from the refrigerator 30-60 minutes before cooking. While "tempering" to room temperature is largely a myth (physics dictates it would take hours), this time allows the surface to dry further and the thermal shock to be slightly reduced. Season heavily with salt. Osmosis will draw some protein-rich moisture to the surface, which will dry and aid in browning.
2. The Low-Temp Phase
Preheat your oven to 225°F (107°C). Place the steak on a wire rack set over a baking sheet. Air circulation is critical here; the rack simulates a convection environment, ensuring even heating on all sides.
Insert a probe thermometer into the geometric center. Cook until the internal temperature is 10-15°F below your target finish temperature.
- Target: Medium-Rare (130°F) → Pull at 115°F
- Target: Medium (140°F) → Pull at 125°F
3. The Rest (Brief)
Remove the steak and tent loosely with foil. Let it rest for 10 minutes. This allows the slight temperature gradient that did form to equalize, and gives you time to heat your skillet to nuclear levels.
4. The Maillard Finish
Heat a cast-iron skillet or heavy stainless steel pan until it begins to smoke slightly (approx. 500°F-600°F). Add a high-smoke-point oil (avocado or ghee). Sear the steak for 45-60 seconds per side. No more.
If you are cooking a high-fat cut like Japanese A5 Wagyu, you may not even need oil; the fat renders so quickly it lubricates the pan instantly.
5. The Final Rest
Because we didn't drive massive heat into the center, the carryover cooking (the temperature rise after removal from heat) is minimal—usually only 3-5°F, compared to 10°F+ with traditional grilling. A 5-minute rest is plenty.
Analyzing the Results
Cut into your reverse-seared steak. You should see pink from the very top millimeter to the bottom millimeter. The texture should be uniform—no chewy outer ring transitioning to a raw center. This is the hallmark of technical perfection.
For those looking to replicate the absolute pinnacle of steakhouse quality at home, combining this method with superior genetics is the key. The structural integrity of Wagyu beef specifically benefits from this gentle handling, ensuring that every ounce of marbling translates to flavor rather than grease in the pan.
Frequently Asked Questions
Why does reverse searing take longer?
You are trading time for precision. By using a lower temperature (225°F vs 500°F+), you are slowing down the rate of heat transfer. This slow pace allows the heat to conduct through the meat evenly, preventing the outer layers from overcooking before the center is done.
Can I reverse sear a thin steak?
It is not recommended for steaks thinner than 1.5 inches. The "sear" phase adds heat to the interior. On a thin steak, the heat from searing both sides permeates the entire cut too quickly, undoing the benefits of the low-and-slow phase. Direct high heat is better for thin cuts.
Do I need a wire rack?
Yes, a wire rack is essential. It allows heated air to circulate underneath the steak, cooking it evenly from all sides. Without it, the bottom of the steak conducts heat directly from the baking sheet, cooking faster than the top and potentially becoming soggy.
Is reverse searing safe?
Yes, provided you do not cook at temperatures lower than 200°F for extended periods. 225°F moves the meat through the "danger zone" (40°F-140°F) fast enough to prevent bacterial growth, while still providing the gentle heat required for the technique.
What is the best oil for the finishing sear?
You need an oil with a high smoke point because the searing temperature is extreme. Avocado oil (520°F), Ghee (480°F), or Refined Safflower Oil (510°F) are excellent choices. Avoid Extra Virgin Olive Oil or butter (unless added at the very end), as they will burn and taste bitter.
More Expert Guides
Steak Doneness Temperature Guide: The Science of Every Level from Rare to Well Done
Every degree matters. This science-backed guide covers the exact internal temperatures for every steak doneness level, why each temperature produces a different texture, and how to nail your target every time.
14 min readDirect vs Indirect Heat Grilling: The Science of Two-Zone Cooking
Direct heat sears. Indirect heat roasts. Understanding the physics of each — and when to combine them — is the foundation of every great grilling technique.
14 min readResting Meat After Cooking: The Science of Why It Makes Every Steak Juicier
Resting meat after cooking is not optional — it is physics. Here is exactly what happens inside the steak during those crucial minutes and how long to rest every cut.